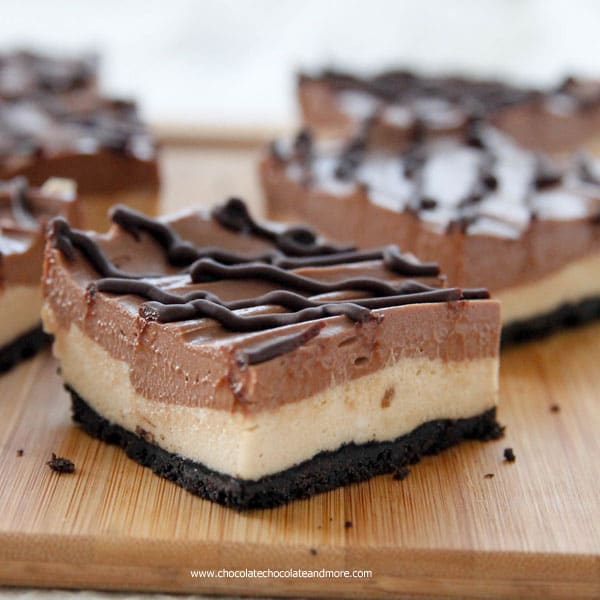
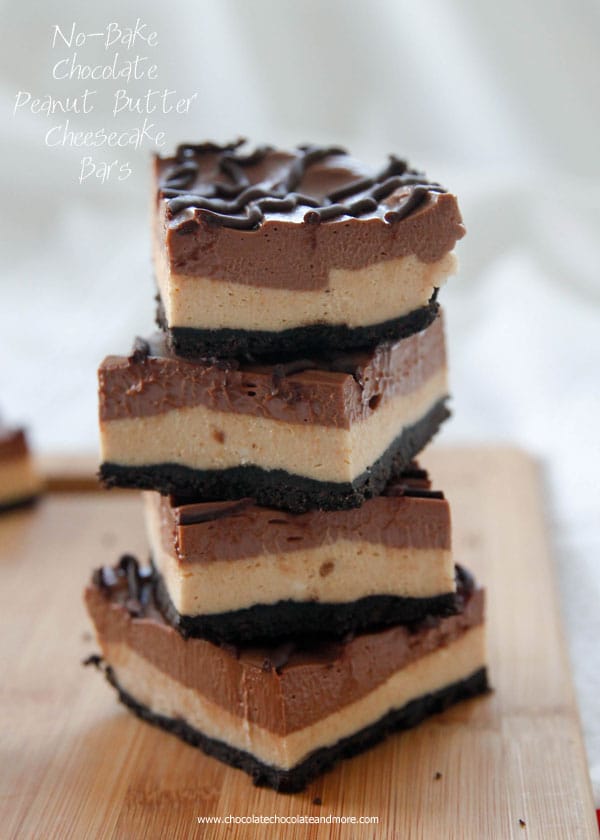
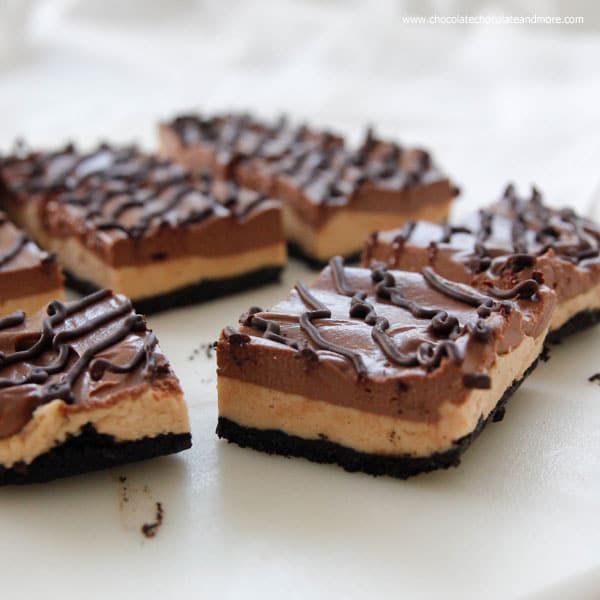
Perfect for those days when you don’t want to turn on the oven-these No-Bake Chocolate Peanut Butter Cheesecake Bars taste just like eating a peanut butter cup.
There is just so much to love about these bars.
It all started with the crust. There was a sale on Oreos. I tried to walk past. And I did. I walked past the first 2 spots in the store where they had Oreos on display. That old saying about three’s a charm, good things happen in threes, or say something three times to remember it.
Well, I bought 3 packages. It was a good sale.
The kids and I like to have cookie parties every now and then. We grab the gallon of milk, the cups and a package of cookies and have at it. But usually we’re on vacation. Where I’m not willing to bake up cookies anyway.
The kids ate a few of the cookies and then started searching for something homemade. I really didn’t buy the Oreos for them anyway. Oreos make an awesome crust!
There was also a good sale on cream cheese. It was fate. All that was left to decide was what flavor?
Maybe it was looking at the leftover (from Easter) peanut butter cups (they’re going in ice cream this weekend) or my youngest sitting on the couch eating a spoonful of peanut butter. Or maybe it was the peanut butter jar left out on the counter.
Whatever it was, I’m thankful. These bars are rich, creamy, smooth, and melt in your mouth good. Just like a peanut butter cup.
And drizzling chocolate ganache on the top is just fun. And makes everything look fancier.
Connect with Chocolate, Chocolate and More!
Facebook | Twitter | Google+
Pinterest | instagram
No Bake Peanut Butter Cup Cheesecake

Ingredients
Crust
- 1 1/4 cup crushed Oreo cookies (about 18 cookies)
- 3 Tablespoons butter, melted
Peanut Butter Layer
- 8 ounces cream cheese, room temperature
- 1/2 cup creamy peanut butter
- 1 teaspoon vanilla extract
- 1/3 cup powdered sugar
Chocolate layer
- 8 ounces cream cheese, room temperature
- 3/4 cup prepared chocolate ganache (see below)
- 1/2 teaspoon vanilla extract
- 1/2 cup powdered sugar
Chocolate Ganache
- 1 cup chocolate chips (I used dark chocolate)
- 1/4 cup heavy whipping cream
Instructions
- Line an . 8x8 square baking pan with foil. Lightly spray with non-stick cooking spray.
- Combine crushed Oreo cookies and melted butter until all crumbs are moistened. Press into bottom of prepared pan.
- In a mixing bowl, cream cream cheese until smooth. Add in peanut butter and vanilla and cream again. Beat in powdered sugar until combined and smooth. Gently spread peanut butter cheesecake layer on top of Oreo cookie crust. Place in refrigerator to chill.
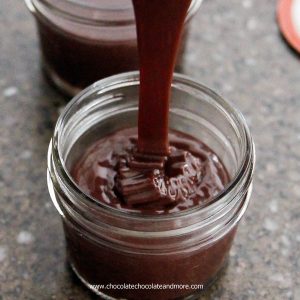
- Prepare Ganache-In a microwave safe bowl, place chocolate chips and cream. Heat in microwave on high power for 60 seconds. Remove from microwave and let rest for 5 minutes. Stir chocolate chips until completely melted and smooth. Let cool.
- Chocolate Cheesecake layer
- Cream cream cheese until smooth. Add vanilla and 3/4 cup of cooled chocolate ganache and cream again. Add powdered sugar and beat until smooth. Spread chocolate cheesecake layer on top of peanut butter layer. Chill for 30 minutes to set.
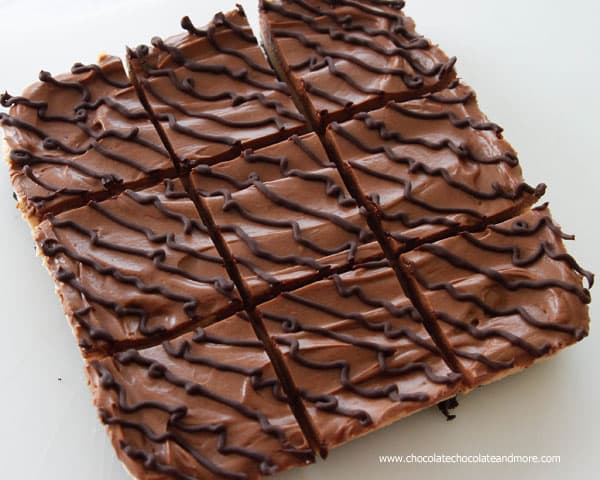
- Place remaining chocolate ganache in a pastry bag with a #3 tip (or you can just use a plastic freezer bag with a small hole cut out of one corner.) Drizzle chocolate ganache over top of cheesecake in any design you desire.
- Refrigerate cheesecake for a minimum of 2 hours, until cheesecake is firm enough to slice.
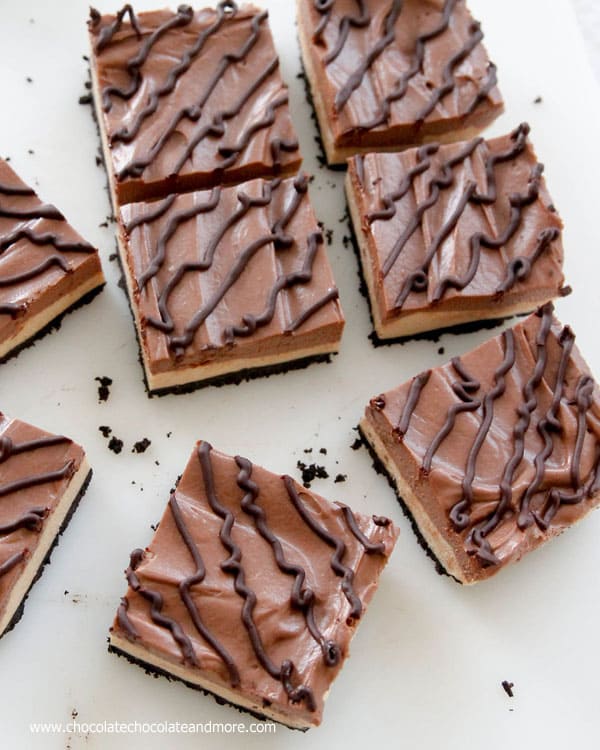
- For slicing, remove cheesecake from pan, using foil to lift out. Remove foil from cheesecake.
- For ease in slicing, place sharp knife under hot water to heat knife, then wipe dry before using. Clean knife after each cut.
- Store cheesecake in an airtight container in the refrigerator.
Want more easy treats?
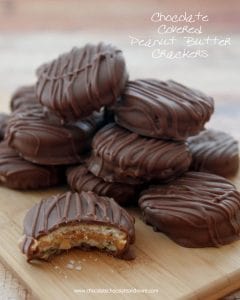
Chocolate Covered Peanut Butter Crackers
Pistachio Eclair Cake from Shugary Sweets
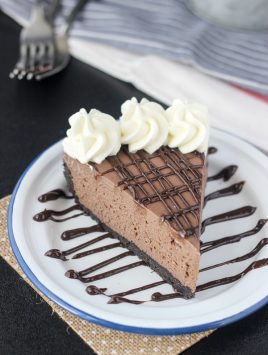
No-Bake Nutter Butter Butterfinger Bars from The Domestic Rebel
Cream Cheese Thin Mints from Kitchen Meets Girl



Taylor @ Food Faith Fitness says
Haha, I love all your sale stories! Clearly these bars were just MEANT to happen!
Chocolate and peanut butter is a combo that I want to eat everydayallday, so I am in LOVE with these bars. Perfect for the warmer weather that is finally coming! Pinning!
Ashley | The Recipe Rebel says
Haha, I don’t think I’d be able to walk past Oreos on sale 3 times either! I love a good no-bake cheesecake, especially when it gets hot out. And chocolate and peanut butter? Even better!
Jay says
Hi, I love your page, so many great recipes! I was wondering, for your No-Bake Chocolate Peanut Butter Bars, when you make the Oreo crust, do you use the creme filling in the Oreos too, or just the cookies? Thanks for your help! 🙂
Joan Hayes says
Yes, I use the creamy middle of the cookie. Helps the crust bind together with less butter.
Jay says
Thanks Joan! 🙂
Kris ~ Big Rigs 'n Lil' Cookies says
Perfection is what these bars are!
Julie @ Julie's Eats & Treats says
Dang girl! The grocery store was speaking to you! These bars look heavenly!
Lisa @ Wine & Glue says
Joan, these look absolutely amazing! Gorgeous! I love a good no bake treat, so perfect for summer!
Kayla says
OH my goodness, this looks so delicious! I love that it’s no-bake, too 🙂
Char says
So, I usually use all natural peanut butter (like Adam’s, nothing added, just peanuts and salt), but I know that in another one of my peanut butter bar recipes, it doesn’t work as well as something like Jif or Skippy. What do you think would work better in this recipe? Sometimes, the consistency is off with the natural peanut butter and I want to make sure I get this one right! Looks delicious!
Joan Hayes says
Because this is no-bake, you should be able to use all natural peanut butter with no problem in this recipe. All natural peanut butter is thicker than Jif or Skippy so I would start with 1/3 cup and add more if needed for taste. Enjoy!
Maureen says
Chocolate peanut butter? That’s amazing! I’m loving every layer of these bars. And of course, it’s a no bake recipe that is why its perfect! And the chocolate ganache drizzle on time looks really fancy. Yum!
Nami says
My crust didn’t stick to my bars. I didn’t keep the center of the cookies though so that may have affected the stick-to-ness. Next time I will either keep the centers or use more butter. They still taste flippin awesome though. Just have a bitty crumb coat instead of a 1/4″ or so one 🙂
kieran says
in the 4th step there is a typo it is supposed to say from but it says form
Joan Hayes says
Thanks for letting me know, it’s corrected now.
Kaytlen says
Made these a few weeks ago and they were delicious. The work was a bit fiddly, but worth the effort. And, I loved the different layers as well. Thanks for sharing.