• Skip to primary navigation
  • Skip to main content
  • Skip to primary sidebar
Chocolate Chocolate and More!
  • Home
  • About
    • Work with Us
    • For Bloggers
  • Recipes
  • Savory
    • Savory Breakfast
    • Snacks
    • Soups & Salads
    • Veggies
  • Sweet
    • Bars
    • Breads & Muffins
    • Breakfasts
    • Cakes
    • Candy
    • Cookies
    • Frozen Treats
    • Fruits
Subscribe
  • Facebook
  • Instagram
  • Pinterest
  • Twitter
Chocolate Chocolate and More!

Chocolate Chocolate and More!

Welcome to my baking adventures.

  • Home
  • About
    • Work with Us
    • For Bloggers
  • Recipes
  • Savory
    • Savory Breakfast
    • Snacks
    • Soups & Salads
    • Veggies
  • Sweet
    • Bars
    • Breads & Muffins
    • Breakfasts
    • Cakes
    • Candy
    • Cookies
    • Frozen Treats
    • Fruits
Subscribe
  • Facebook
  • Instagram
  • Pinterest
  • Twitter
Home » Sweet » Cakes

Petit Fours

Published August 28, 2011

I did it.  I completed all my cake decorating classes.

I started these classes because I just couldn’t get a decent birthday cake for my kids. I have a few horror stories about this but don’t want to trash any of our local businesses. My cakes taste wonderful but look like my youngest did the decorating, no offense to Grace. So off to Hobby lobby to learn how to be a decorator.

My final class was Flowers and Cake Design ( I took my classes out of order). Our instructor, Wondra, was patient, caring, talented and supportive. I know a few of the things I did looked like crap, but she never once laughed (out loud anyway) at our progress. We did laugh quite a bit about other things.

If you’re not comfortable decorating cakes or just want to polish your skills, or learn how to work with fondant (all the rage now for cakes), or just try something new….go take a class. The classes are cheap, mine was $40 but each month they had a half off special so only $20, woohoo. Don’t get me wrong, the experience isn’t cheap, they get you on the equipment and supplies, Cake decorating kit for one class, around $30, deluxe decorating kit, has everything you’ll need for all three classes plus some stuff I never used (hubby don’t read this part) $140 I think. Love Hobby Lobby though, they usually have a 40% off coupon so I planned for it. Then there were a few things I still had to buy that weren’t in the kits, that were must haves….anyway, if you take a class, as soon as you sign up, talk to the instructor about what you will need that’s not in kits, and plan on the coupons.

So back to my Petit Fours, final class you are supposed to decorate your final cake.

I don’t like full size cakes. We love it the first day, but then the second day….it’s a leftover….not as fresh as the first day…..we eat some…..on the third day…..maybe one will still want a slice….on the fourth day…. we throw away close to half a cake. What a waste.

I like individual size yummies …

cookies,
cupcakes,
brownies,
bars,
candies,

You get the idea.

A few important reasons for this choice:

1. No slicing, already have the perfect size serving.

2. I don’t feel guilty having seconds.

3. Usually more fun to make with the kids.

4. If decorating, kids get to do more, more fun for the kids (see #3)

5. Leftovers, we eat on first night. The next day, whatever it is leaves my house, usually to hubby’s office. I walk in, and they all think I baked just for THEM! They don’t realize, they are getting “leftovers”. They feel special, I feel special, and isn’t that what baking/cooking is all about, make someone (even if it’s only you) feel good?

So….back to my dilemna, I need to do something for a final project.

Hmmmm…

Cupcakes would be boring.

hmmmm……

Bars would be basic, wouldn’t highlight my talents…..

hmmmmm…….

Then I remember as a young girl, going to a tea house with my grandma,

and having…..

Petit Fours!

Those would be perfect,
small,
dainty,
delicate…..

I can probably get away with eating a dozen of them and not feel guilty.

Sounds simple enough.

There is a reason these are hard to find at bakeries….they are a pain in the butt to make and time consuming.

But I decide this is what I want to do, so…..

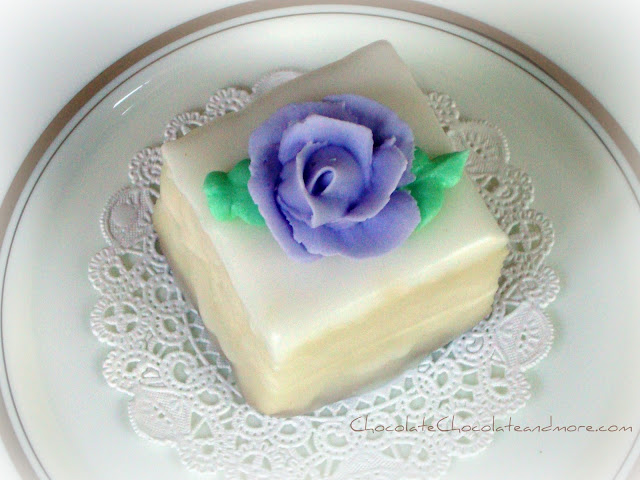
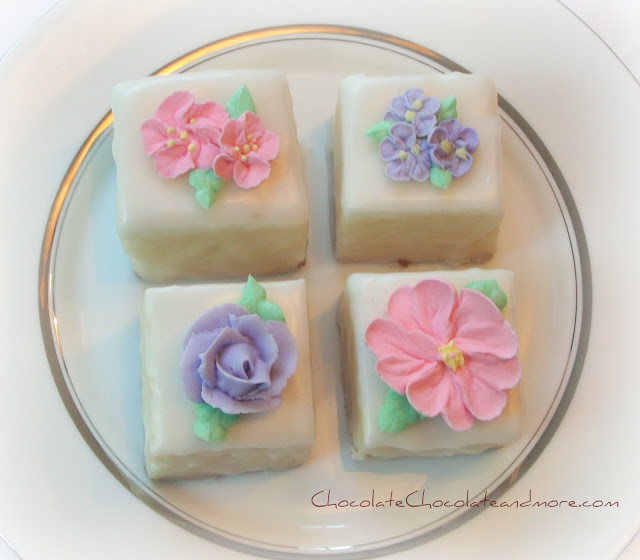
Welcome to my adventures into making:
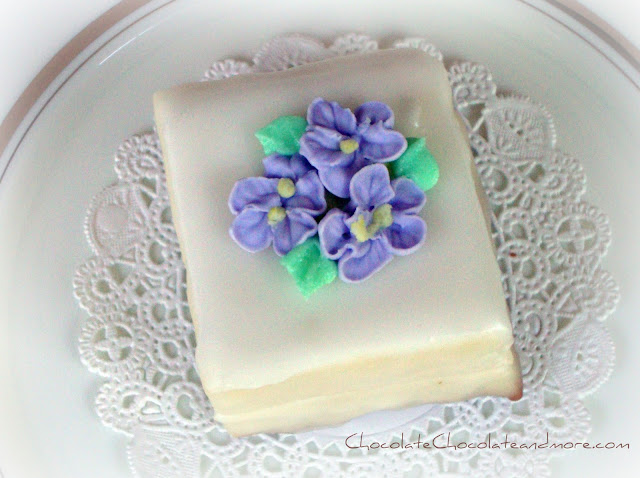
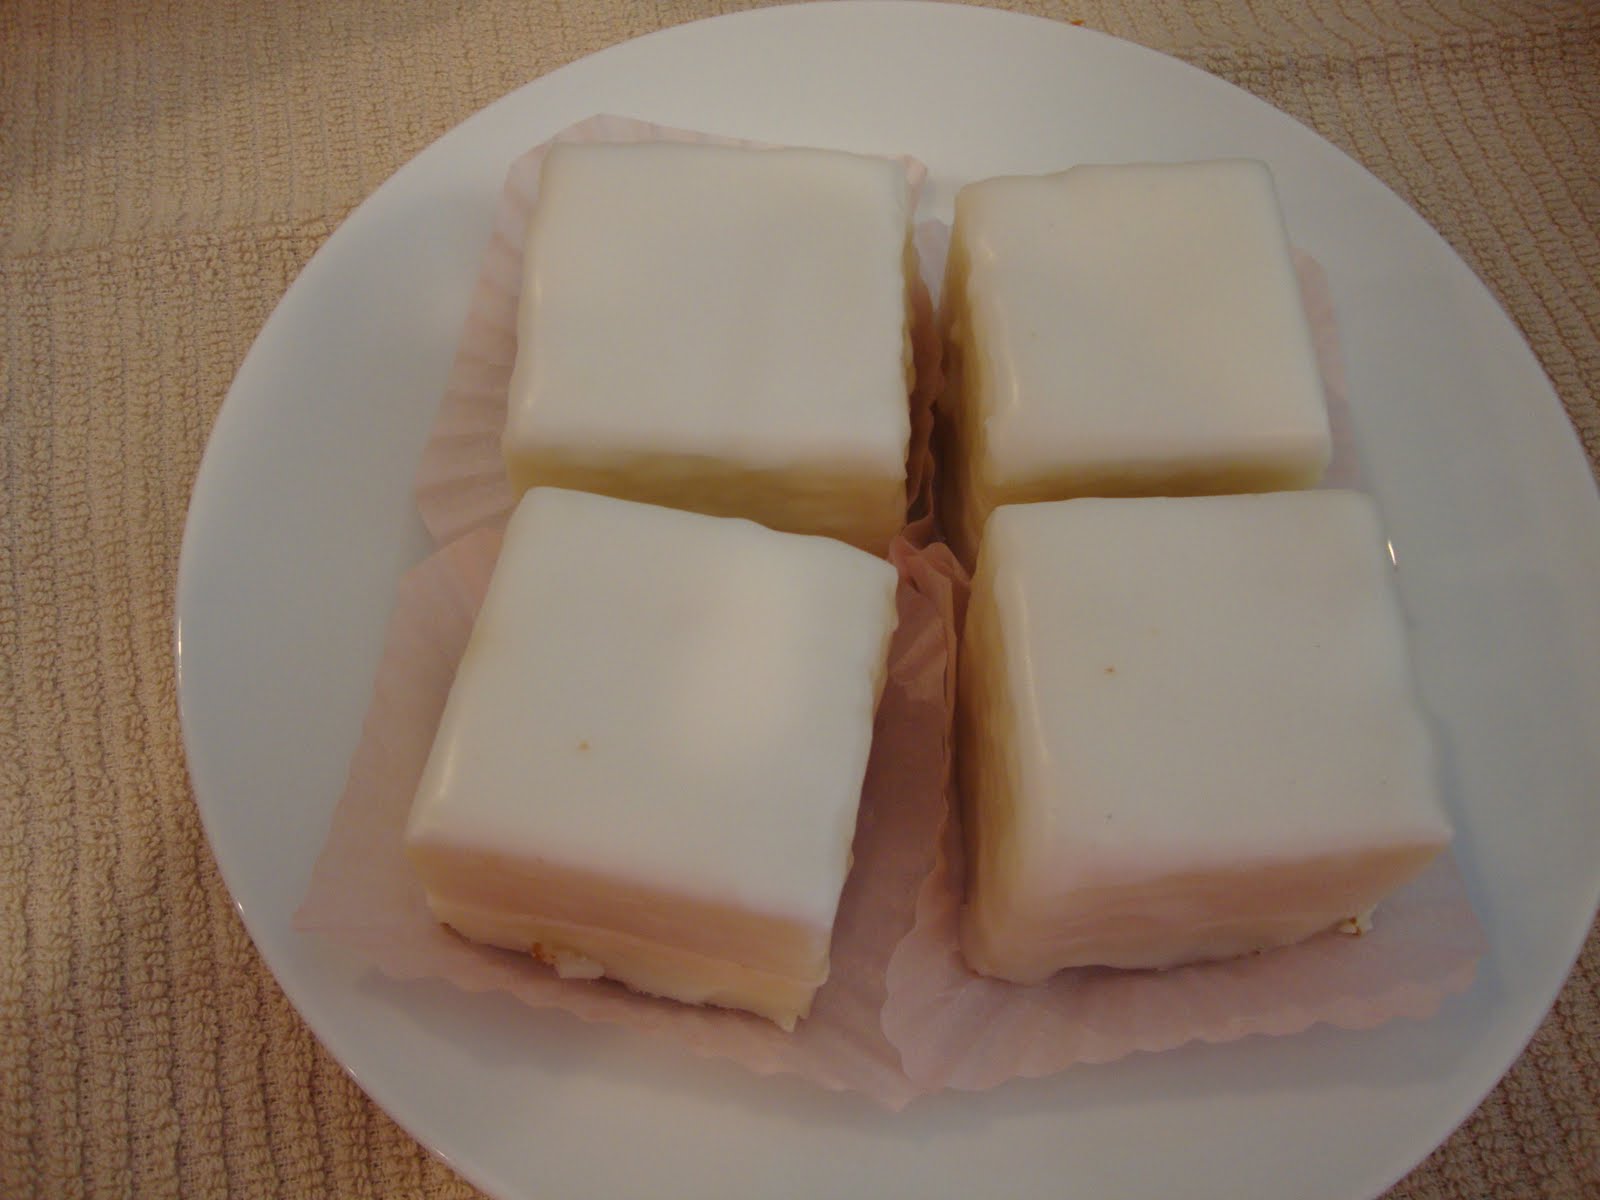
Petit Fours 

Ok, I search and search and study on the web, I watch videos, I look for recipes, I find more videos, and I come to the conclusion:

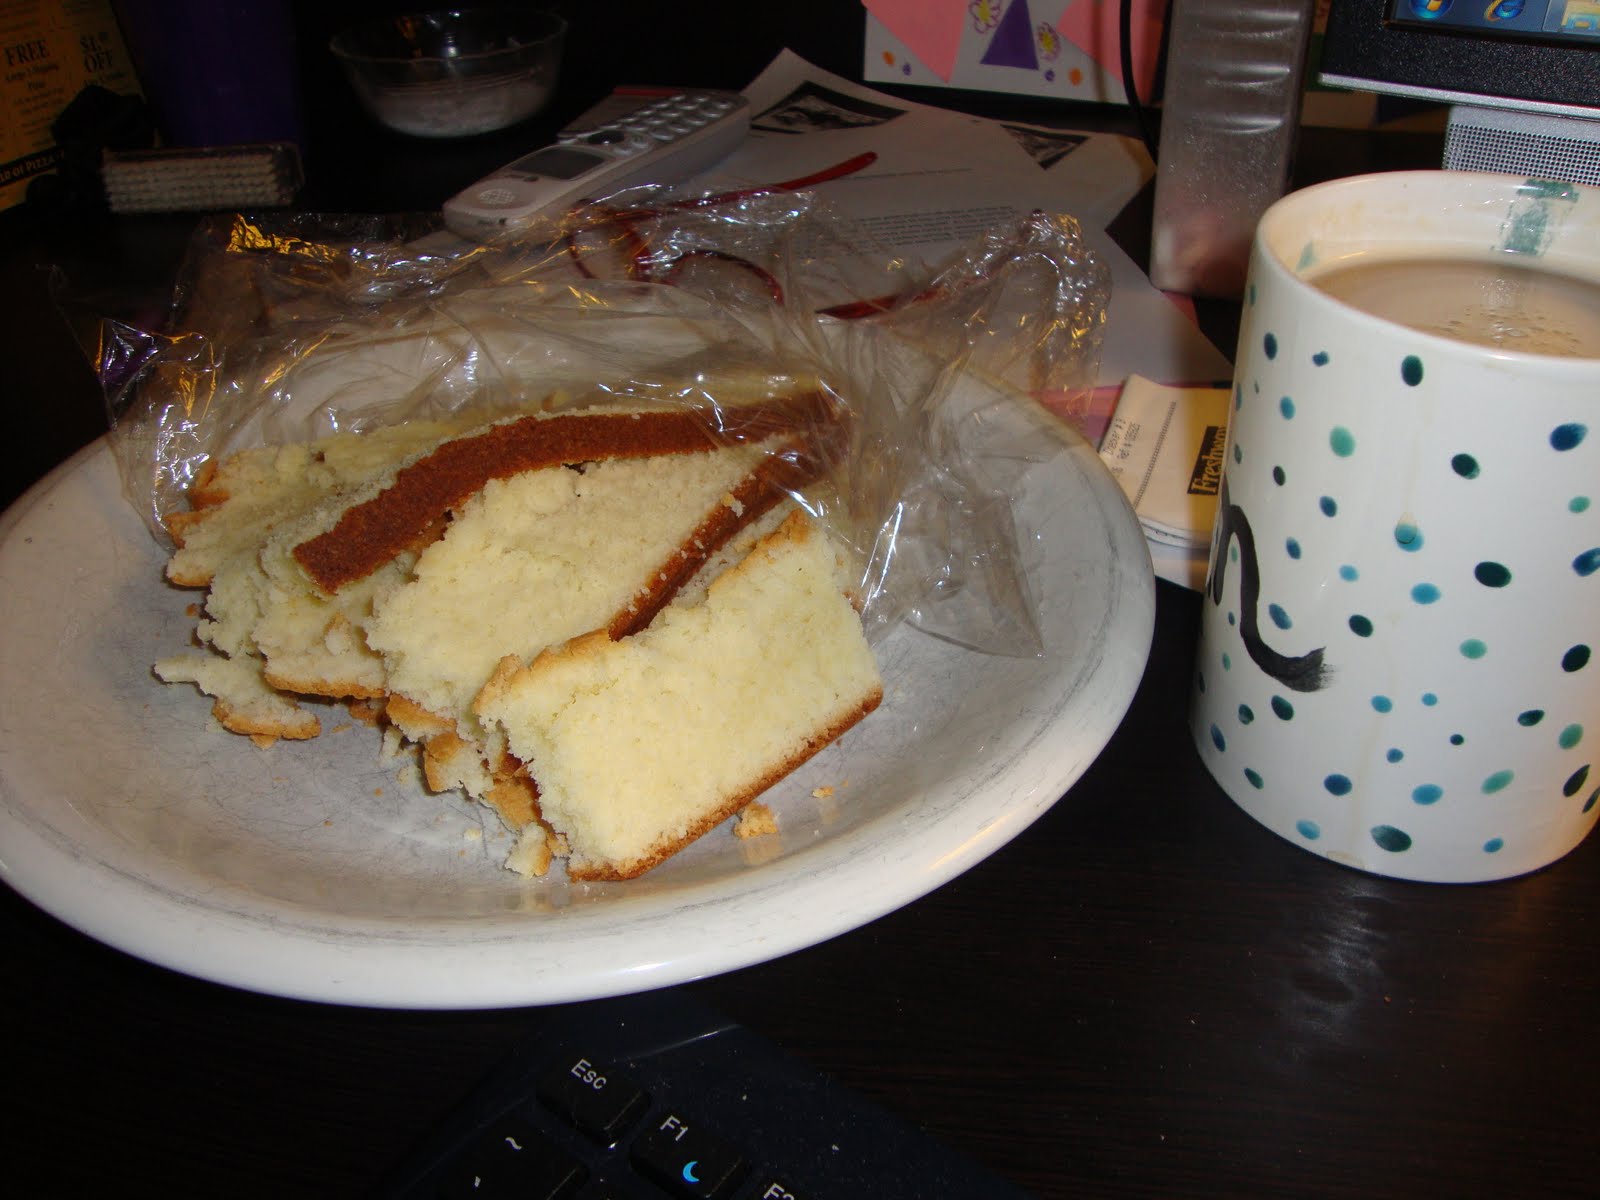
Use a pound cake. Store bought, from a box, from scratch. Get your hands, somehow on pound cake.

This is my wow project, the one I want everyone to ooohhhh and aaawww over so I go the “from scratch” route. I decide to use a Cream Cheese Pound Cake .

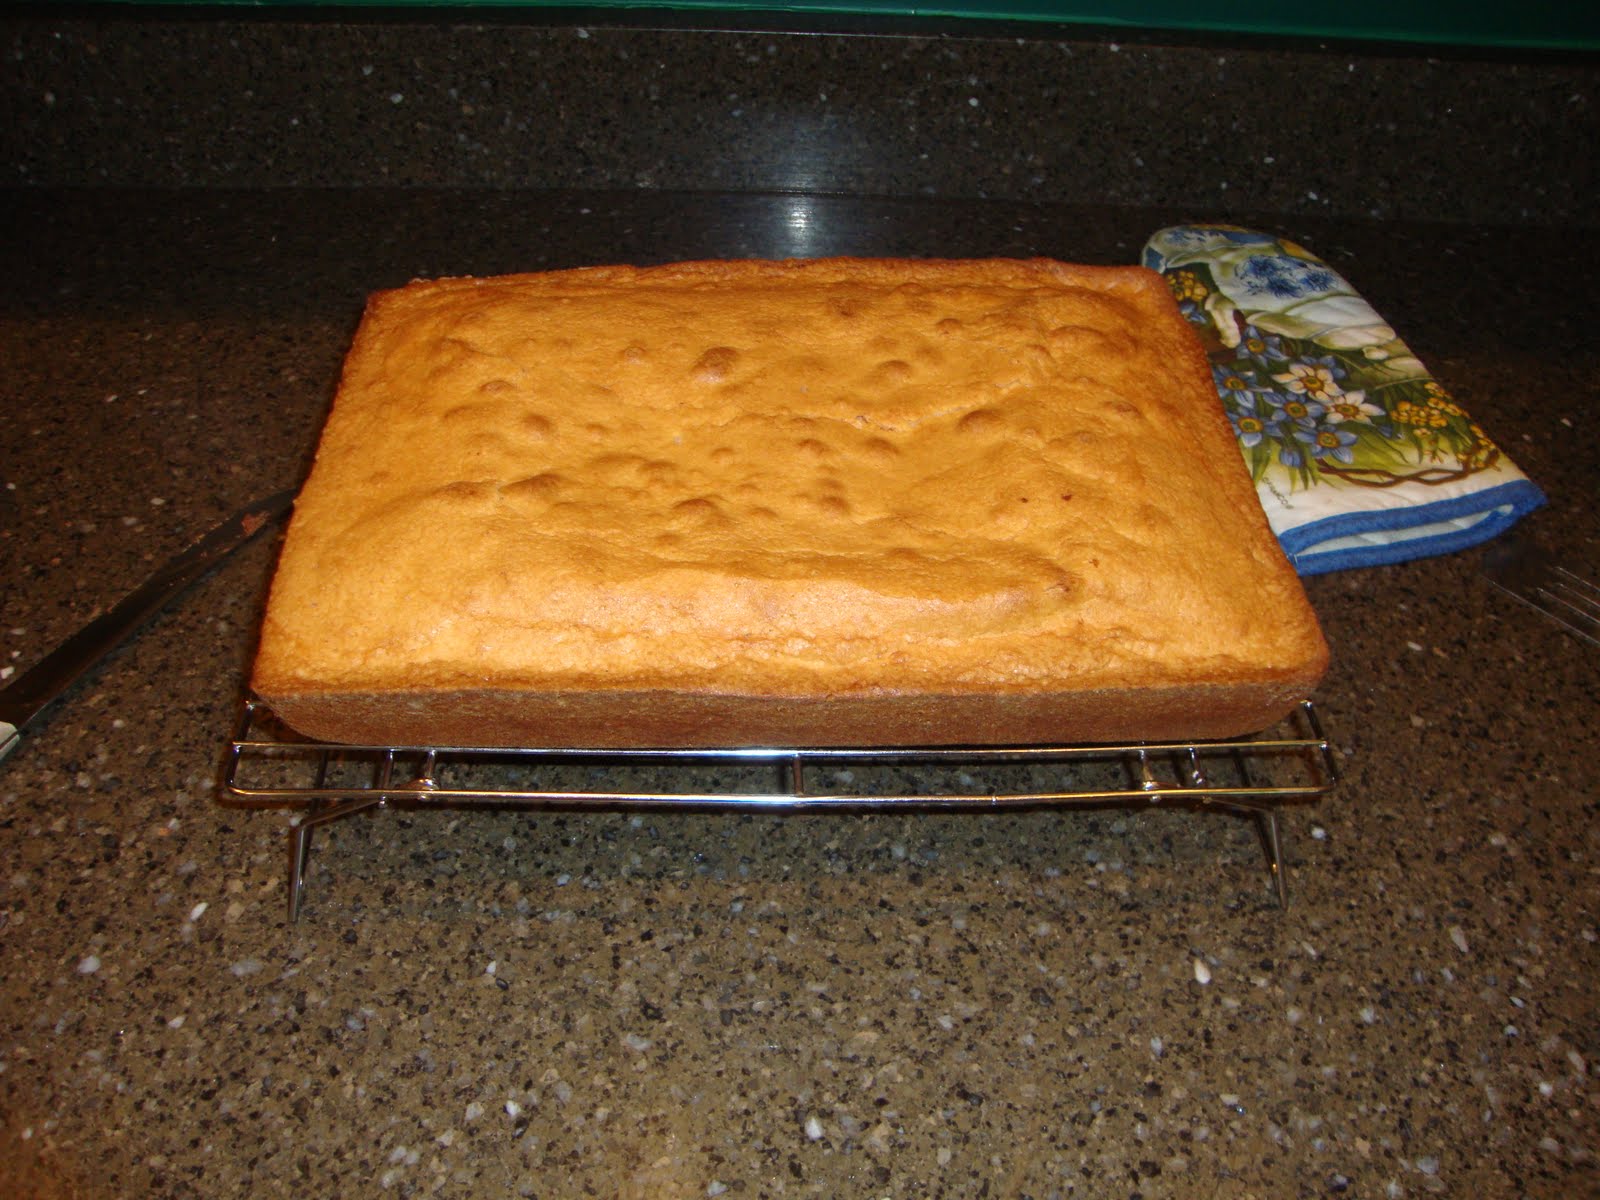
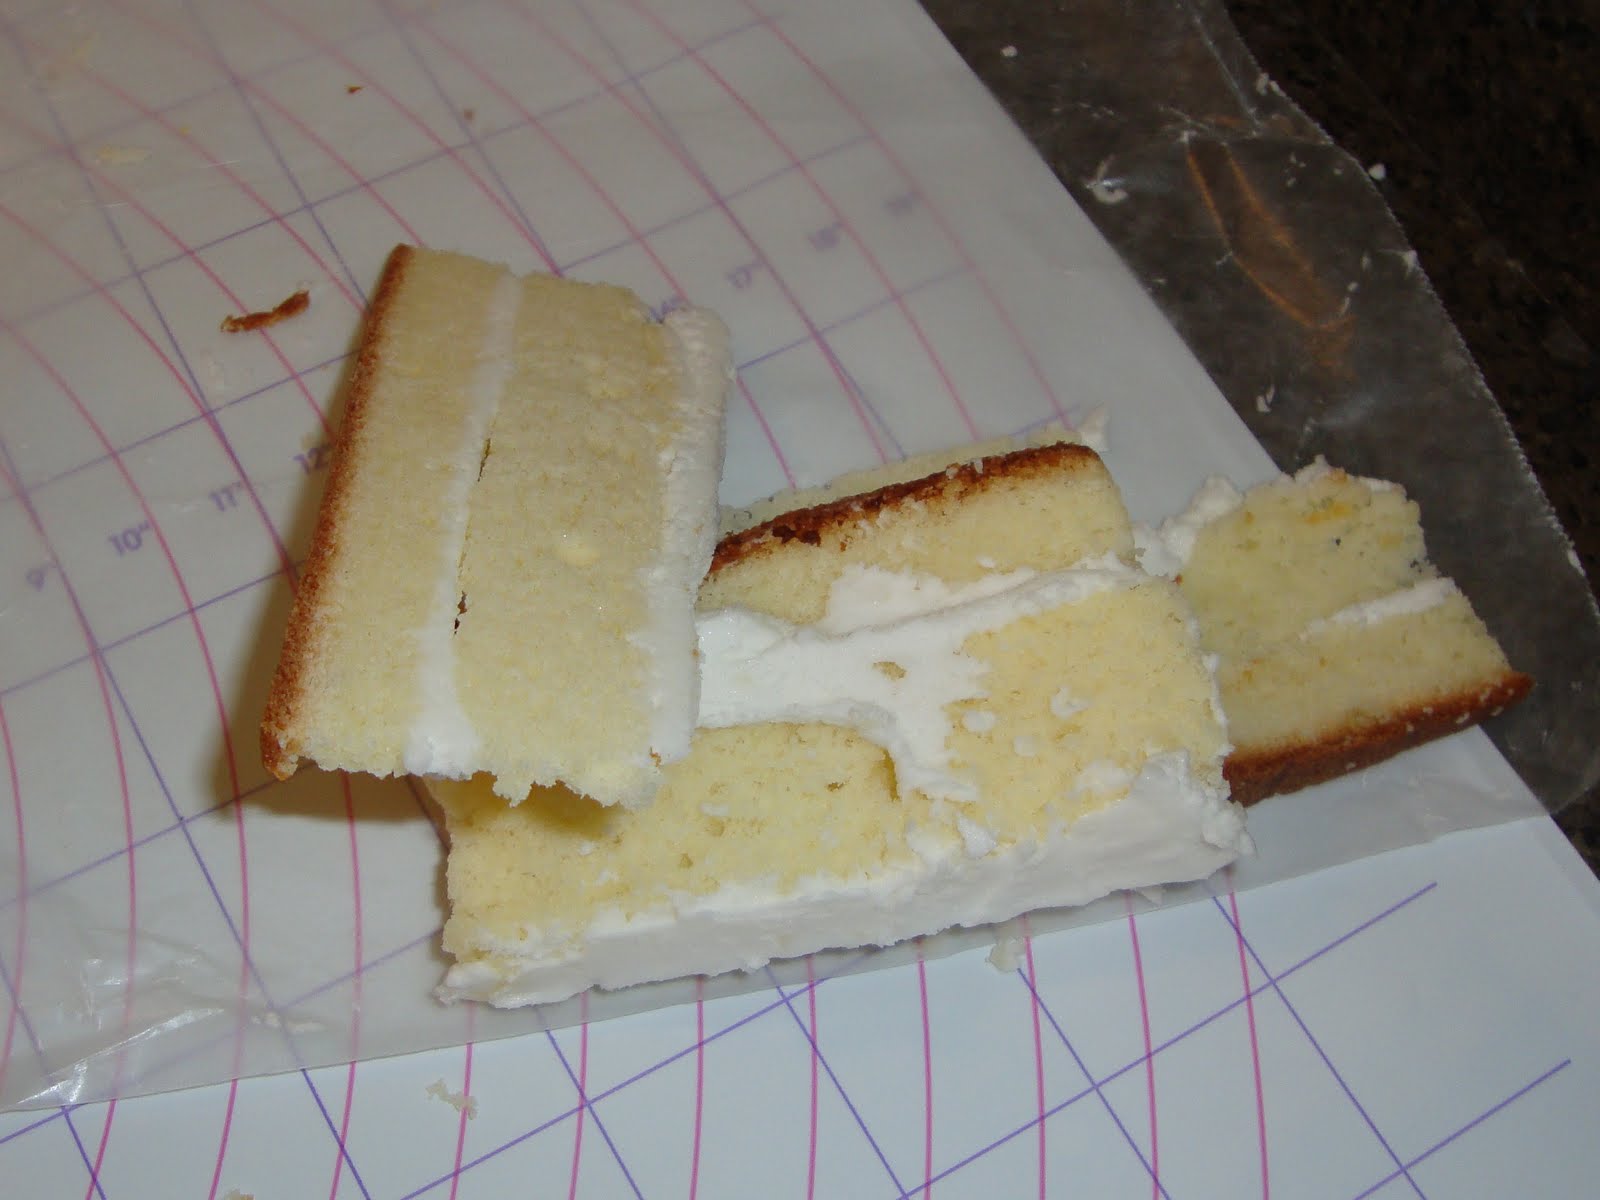
I baked it in a 9 x 13 inch pan and let it cool, completely.

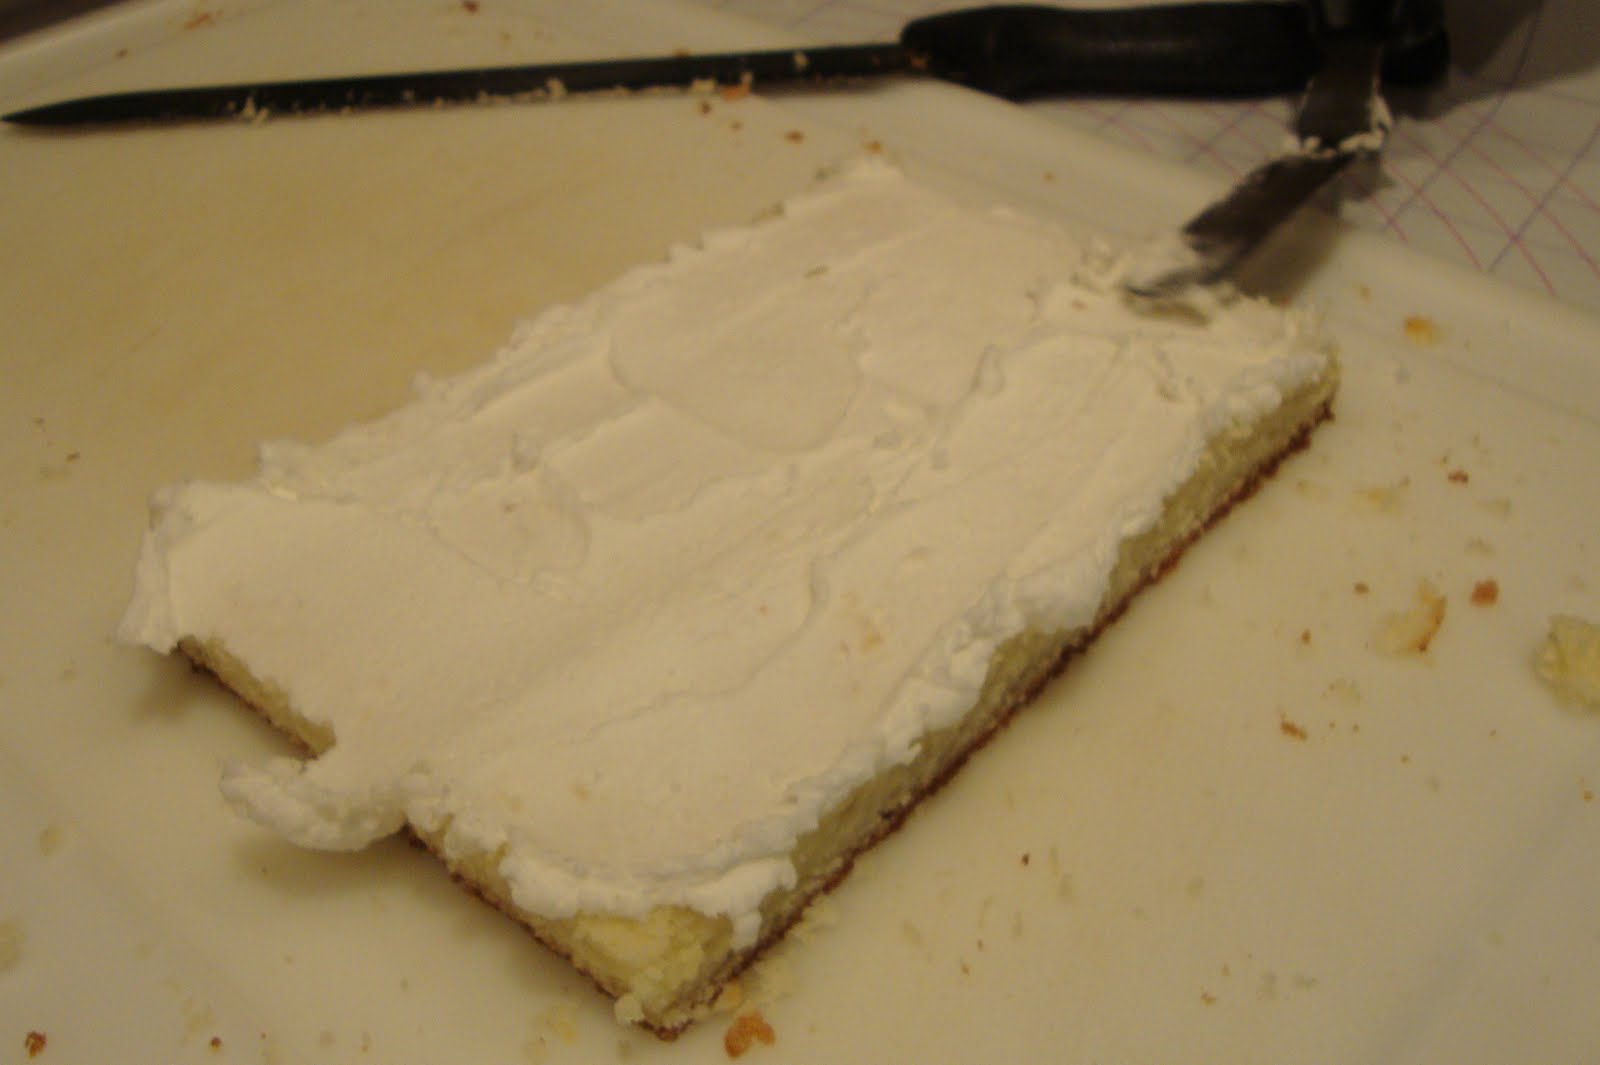
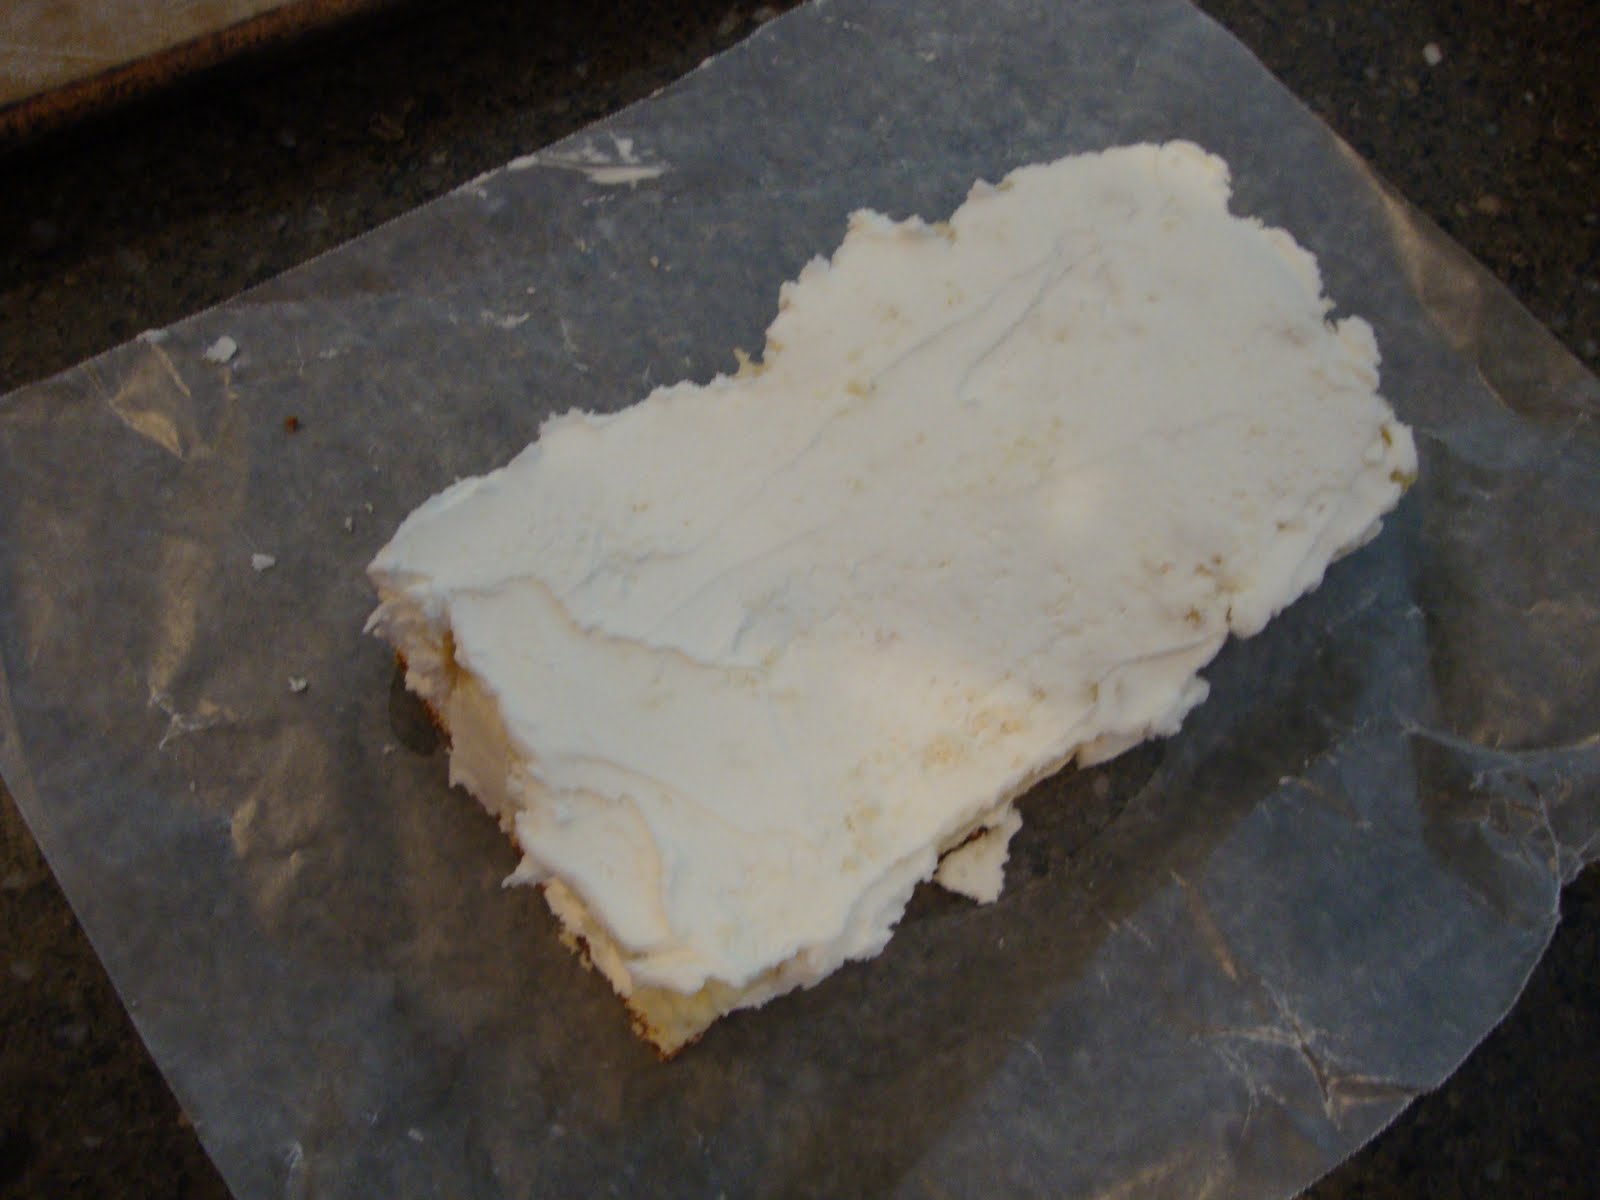
Ok, that was easy enough. Now to start cutting. (Here’s a tip I figured out half way through my journey, freeze the cake first!)

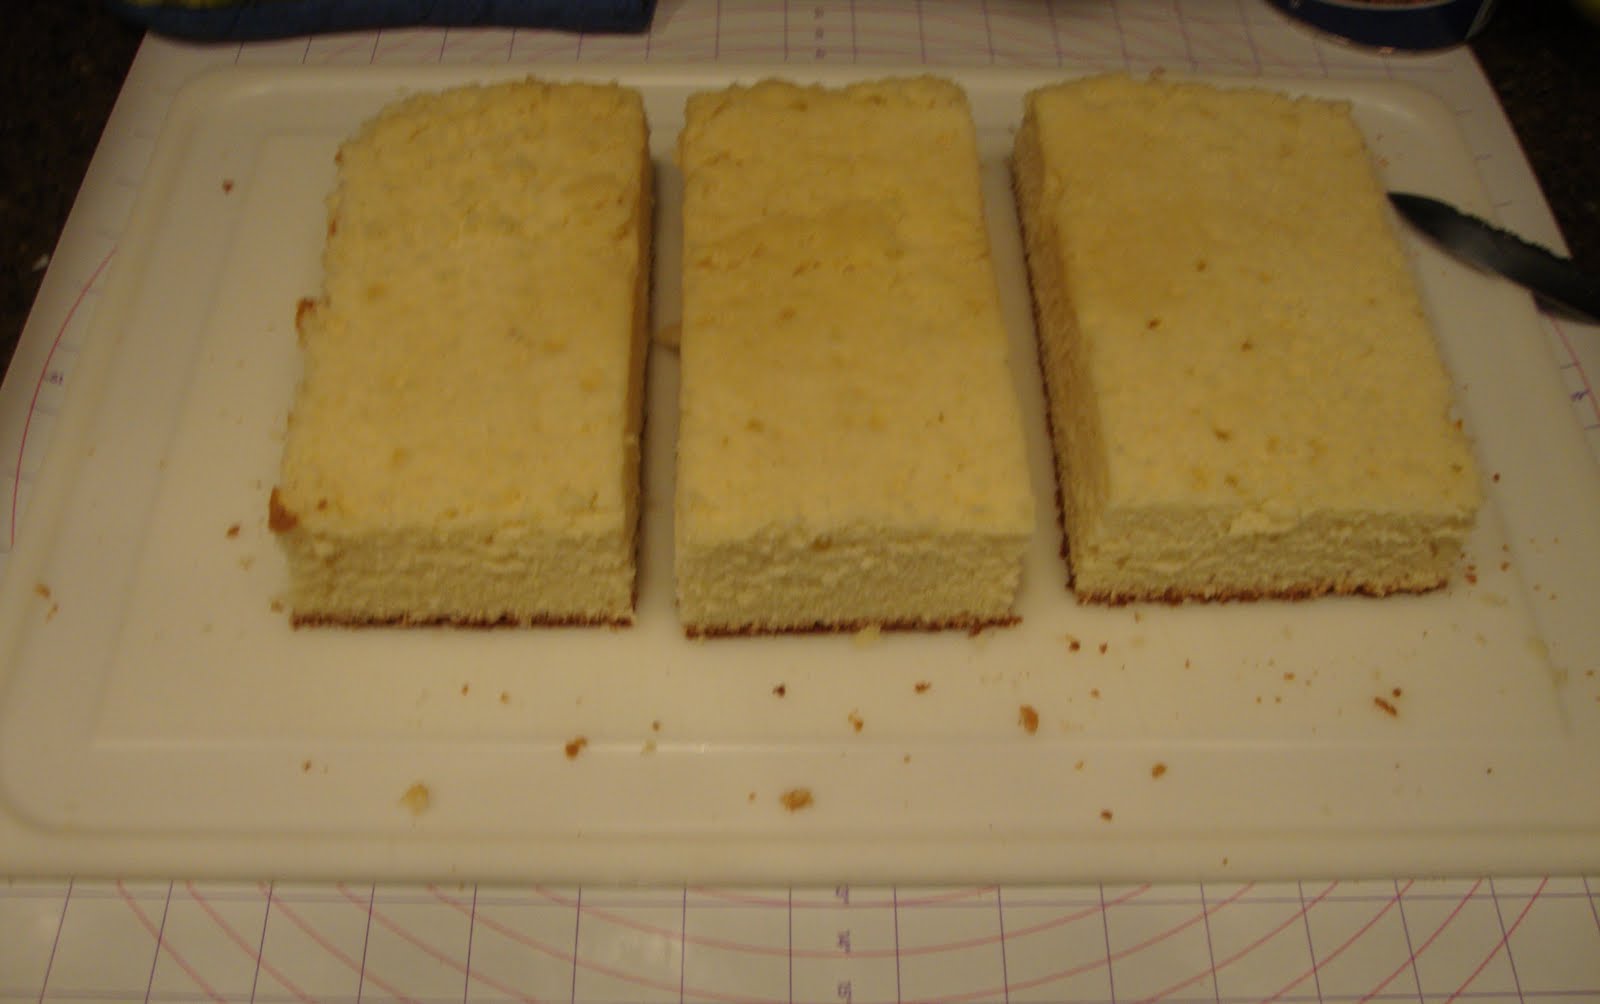
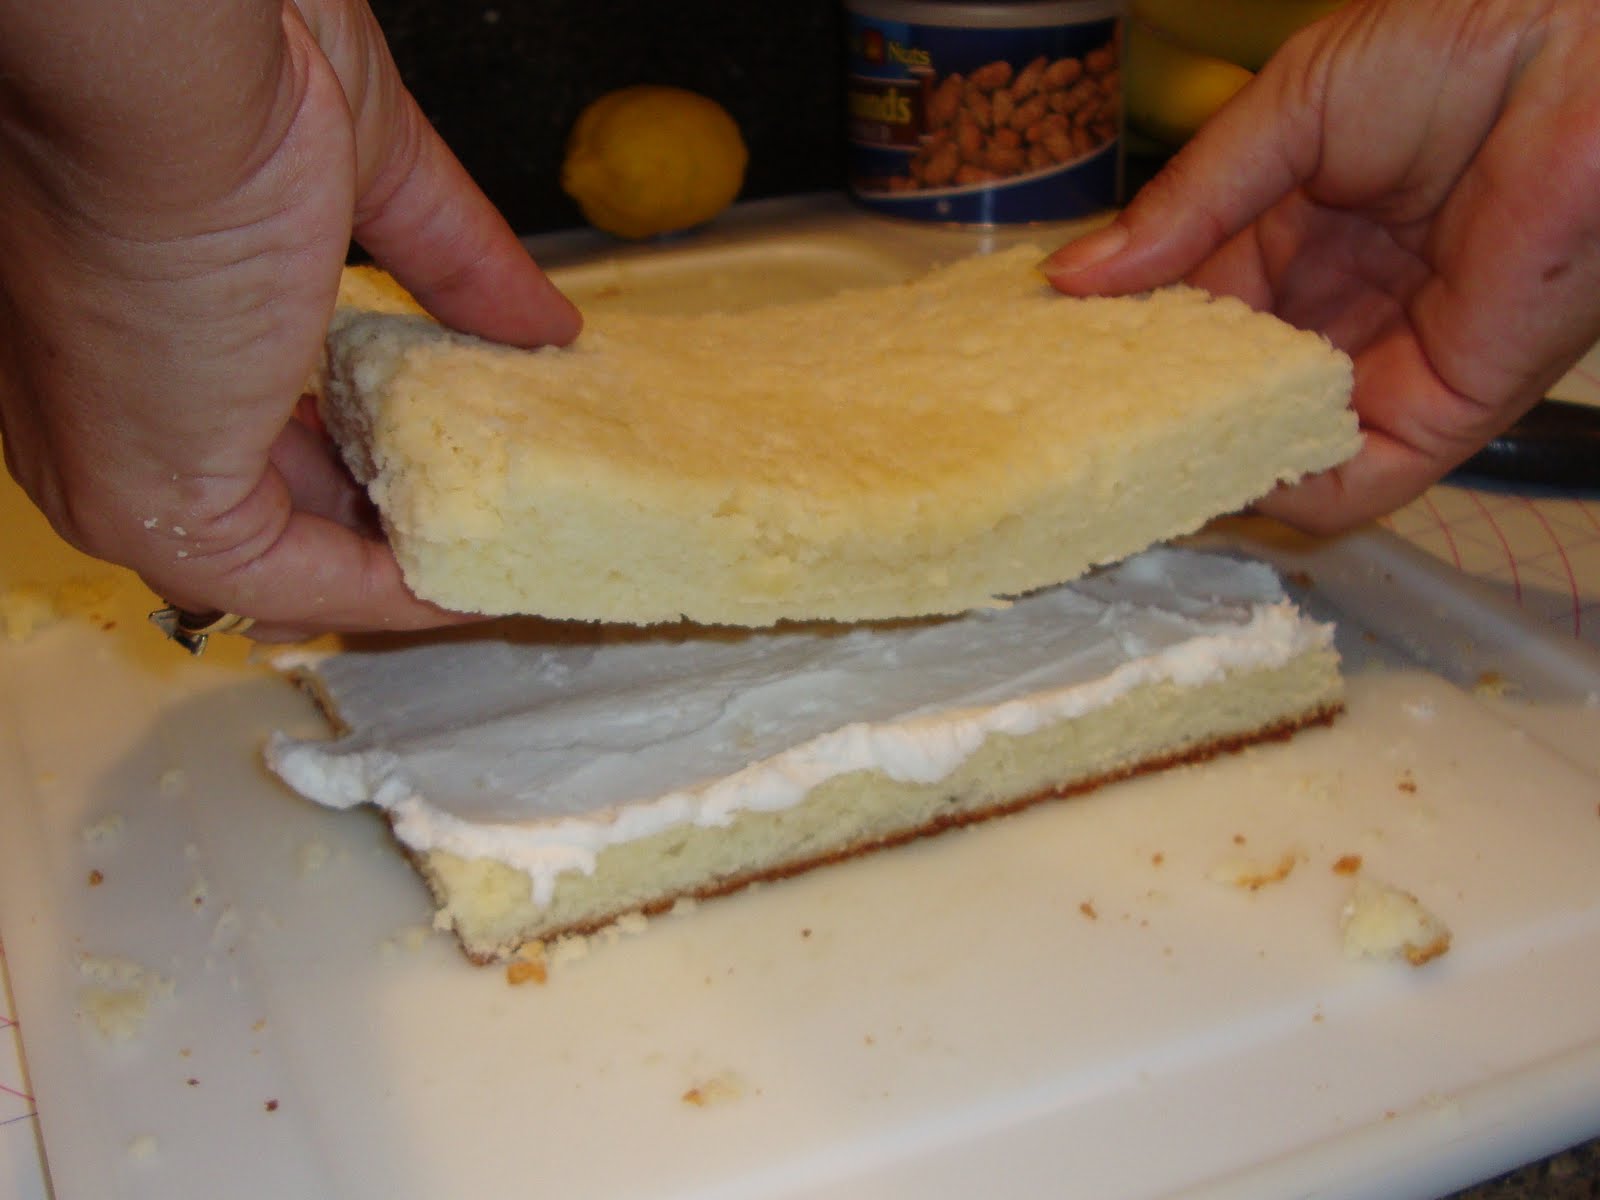
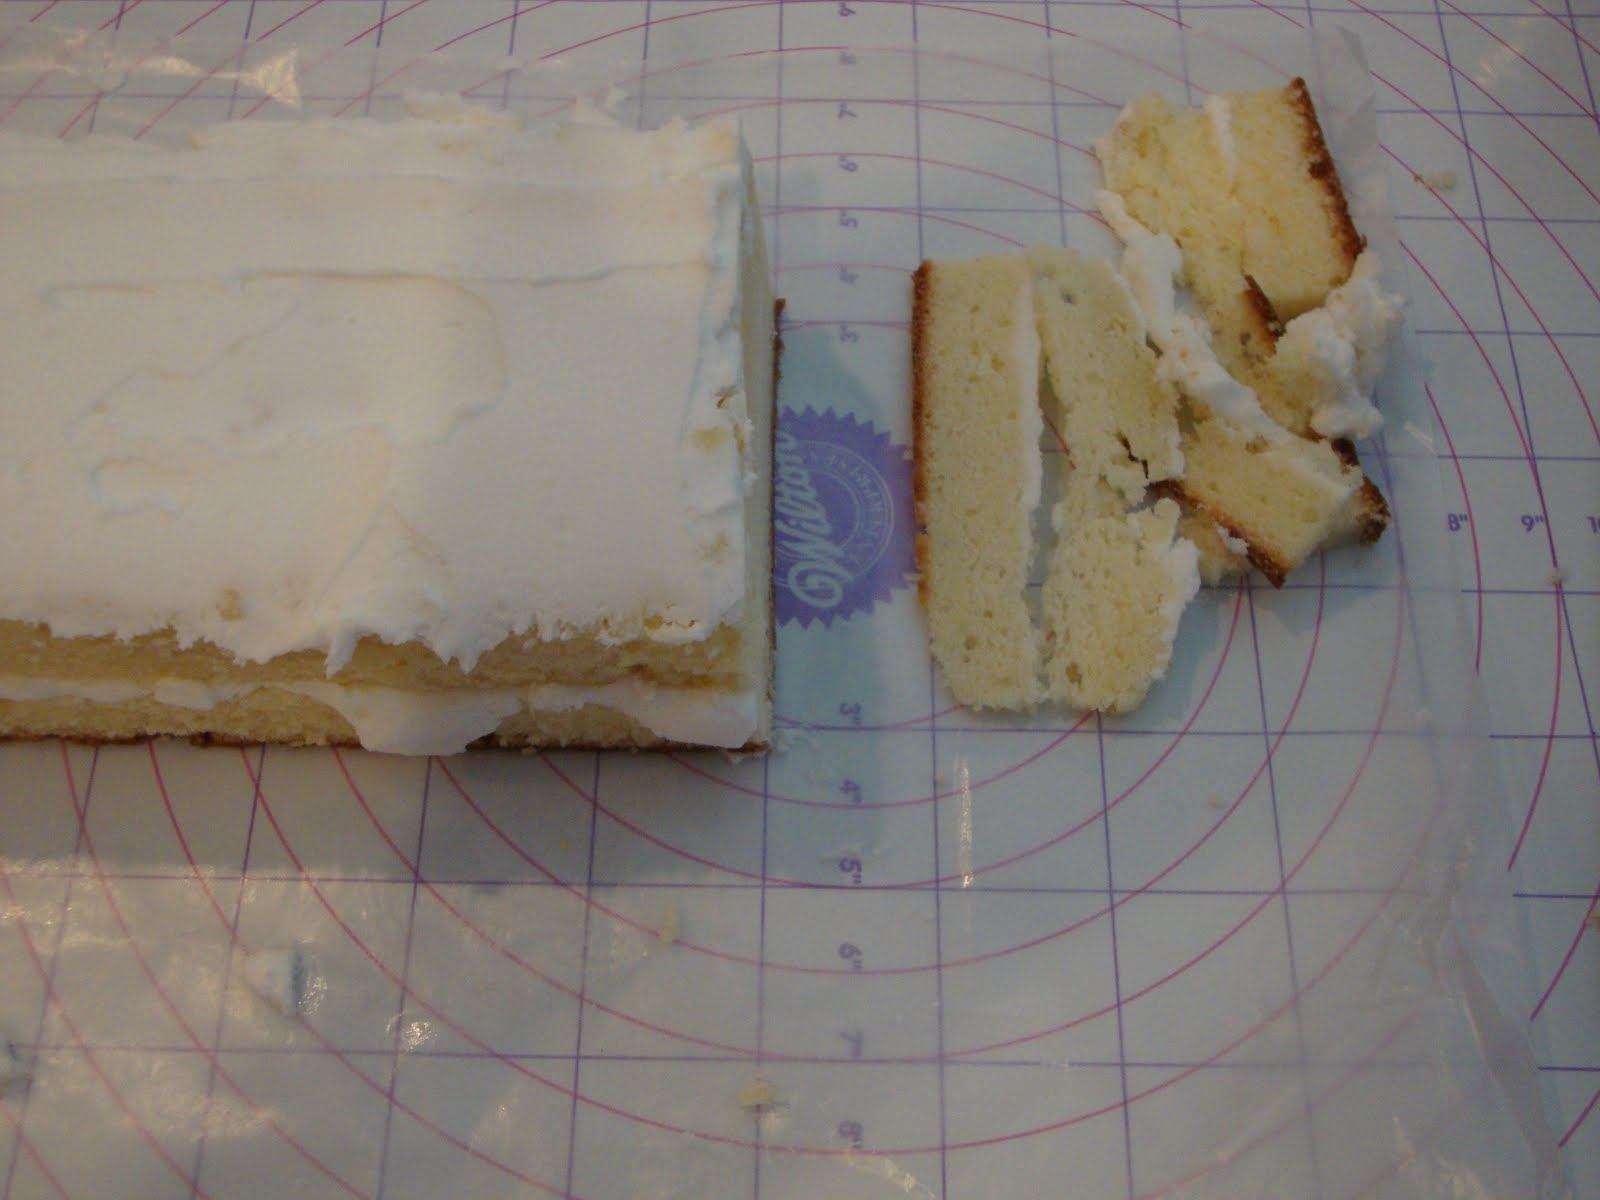
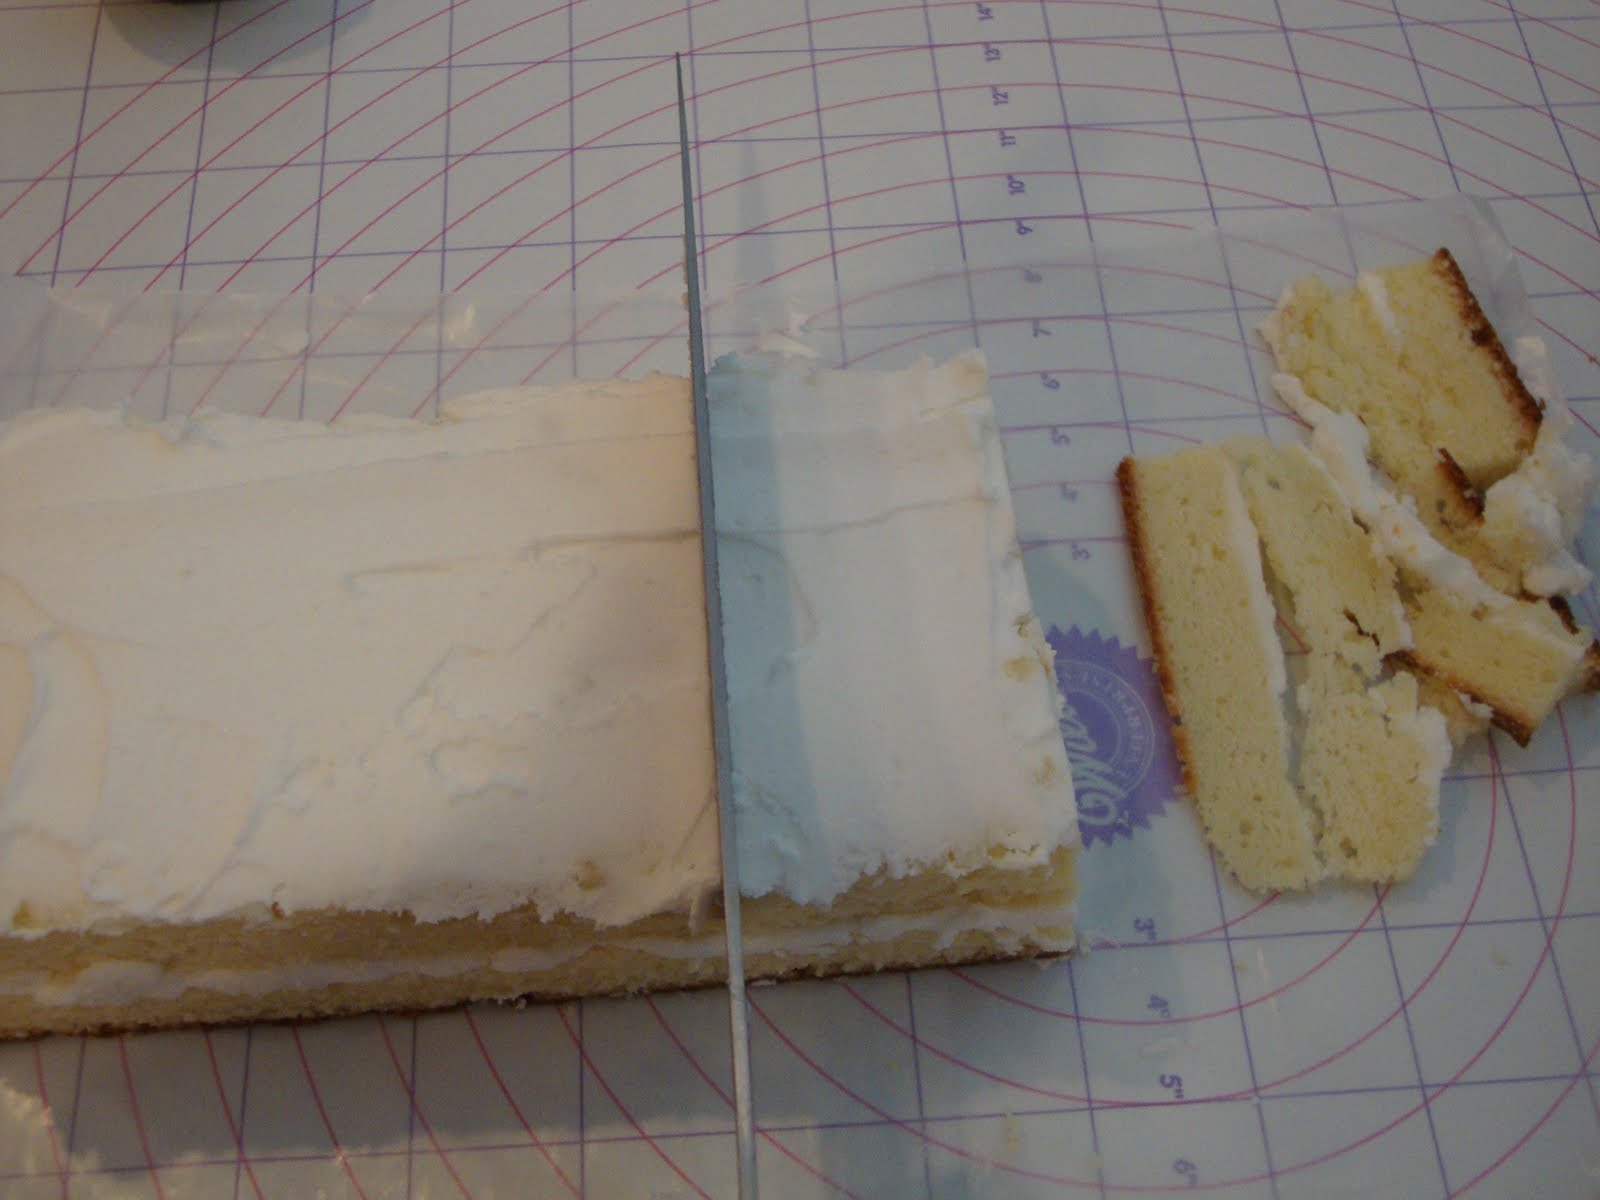
Cut off all four sides, save these. Using a serrated knife, cut off your top, all of it, so your top is flat.

(insert picture here,
sorry, I forgot to get a picture of this)
Now at this point if your cake is starting to soften, put it back in the freezer, remember, a frozen cake is the key!
Next step, make your life easy, cut into three smaller rectangular cakes.
Next, using a serrated knife ( I call it a bread knife), cut each cake in half horizontally.
Now for some buttercream icing. I just used a basic recipe
1 cup solid white vegetable shortening (Crisco)
1 teaspoon clear flavoring
7-8 teaspoons water or milk
1 lb. (1 box) pure cane confectioner’s sugar
1 tablespoon meringue powder
Back to my adventure:
Place a thin layer of icing on bottom half of cake.
It doesn’t have to be pretty.
Place top of cake over bottom.
Now for a thin layer of icing on top.
Back in the freezer until they are hard.
Don’t rush this.
Remember your cake scraps?
They go really good with coffee.
Go have some….
Or do laundry….
Just go away.
Ok, cakes are hard. You can take one cake out. keep the rest freezing.
I know it doesn’t look pretty.
It’s still a work in progress.
Get a sharp, long knife, time to cut again.
Start at one end and make a thin, fresh cut.
Now turn your cake and do the same thing to one of the long ends.
You should now have a fresh clean cut corner to work from.
Decide how big you want your cakes to be, My cake was almost 2 inches tall so I went with 2 x 2 inches.
Working from your fresh corner, cut strips in the length/width/whatever you have decided.
Notice the cake scraps, we’ll come back to those later.
Now turn your cake, measure and cut your lengths into squares or rectangles  or whatever shape you have chosen.
Place squares on cookie sheet and back into the freezer. Repeat with remaining larger cakes until everything is cut to size (so to speak). I had Scraps that ended up around 1 x 2 inch so I also froze those. They made good practice pieces for the next step.
Ok, everything is in the freezer.
Go away,
Again,
 maybe even overnight.
Remember you have cake scraps.
Just go away.
Now for some fun.
Poured Fondant
I used a basic recipe, the one everyone was using, the one Wanda also said to use.
6 cups sifted pure cane confectioners sugar
1/2 cup water
2 tablespoons light corn syrup
1 teaspoon clear flavoring
(coloring if you choose)
Throw sugar, water and corn syrup in a saucepan on the stove.
(insert picture here,
didn’t get a picture of this either
but you should all know what this looks like)
Stir constantly, over low heat, until well mixed. Do not exceed a temperature of 100 degrees. Some recipes said 92 degrees, but 92-100, get somewhere in there and don’t go over it. Remove from heat and add flavoring.
Time for a little fun….
And a lot of mess.
But it’s a sweet mess.
Go to the freezer, remove 3 or 4 of your cakes, leave the rest alone, happy in their frozen state of cakeness. (That’s my word, I just made it up.)
I got out my practice pieces.
Place one cake on a fork, and hold over your saucepan with the poured fondant in it. With the other hand, using a small ladle…Pour the fondant over your cake.
Keep your fork hand steady while making sure to cover all sides. (I had a few fall in the pot when I tilted my fork a little too far)
Once you’ve made sure the cake is completely covered. Place it on a wire rack with waxed paper below to catch all your drippings (these can be saved and reused.)
To get the cake easily off the fork, use a dinner knife and place against fork at bottom of cake, and gently slide (push) it off.
Continue process until all cakes are covered.
This is one that fell in the pot.
All your cakes are covered? Go Away, Again.
It took 5-6 hours for my cakes to completely set.
They look pretty good.
Fast forward through final cake class where I made cute little flowers.
Using buttercream icing, attach pretty flowers to cakes
or using buttercream icing make a flower or design on cake.


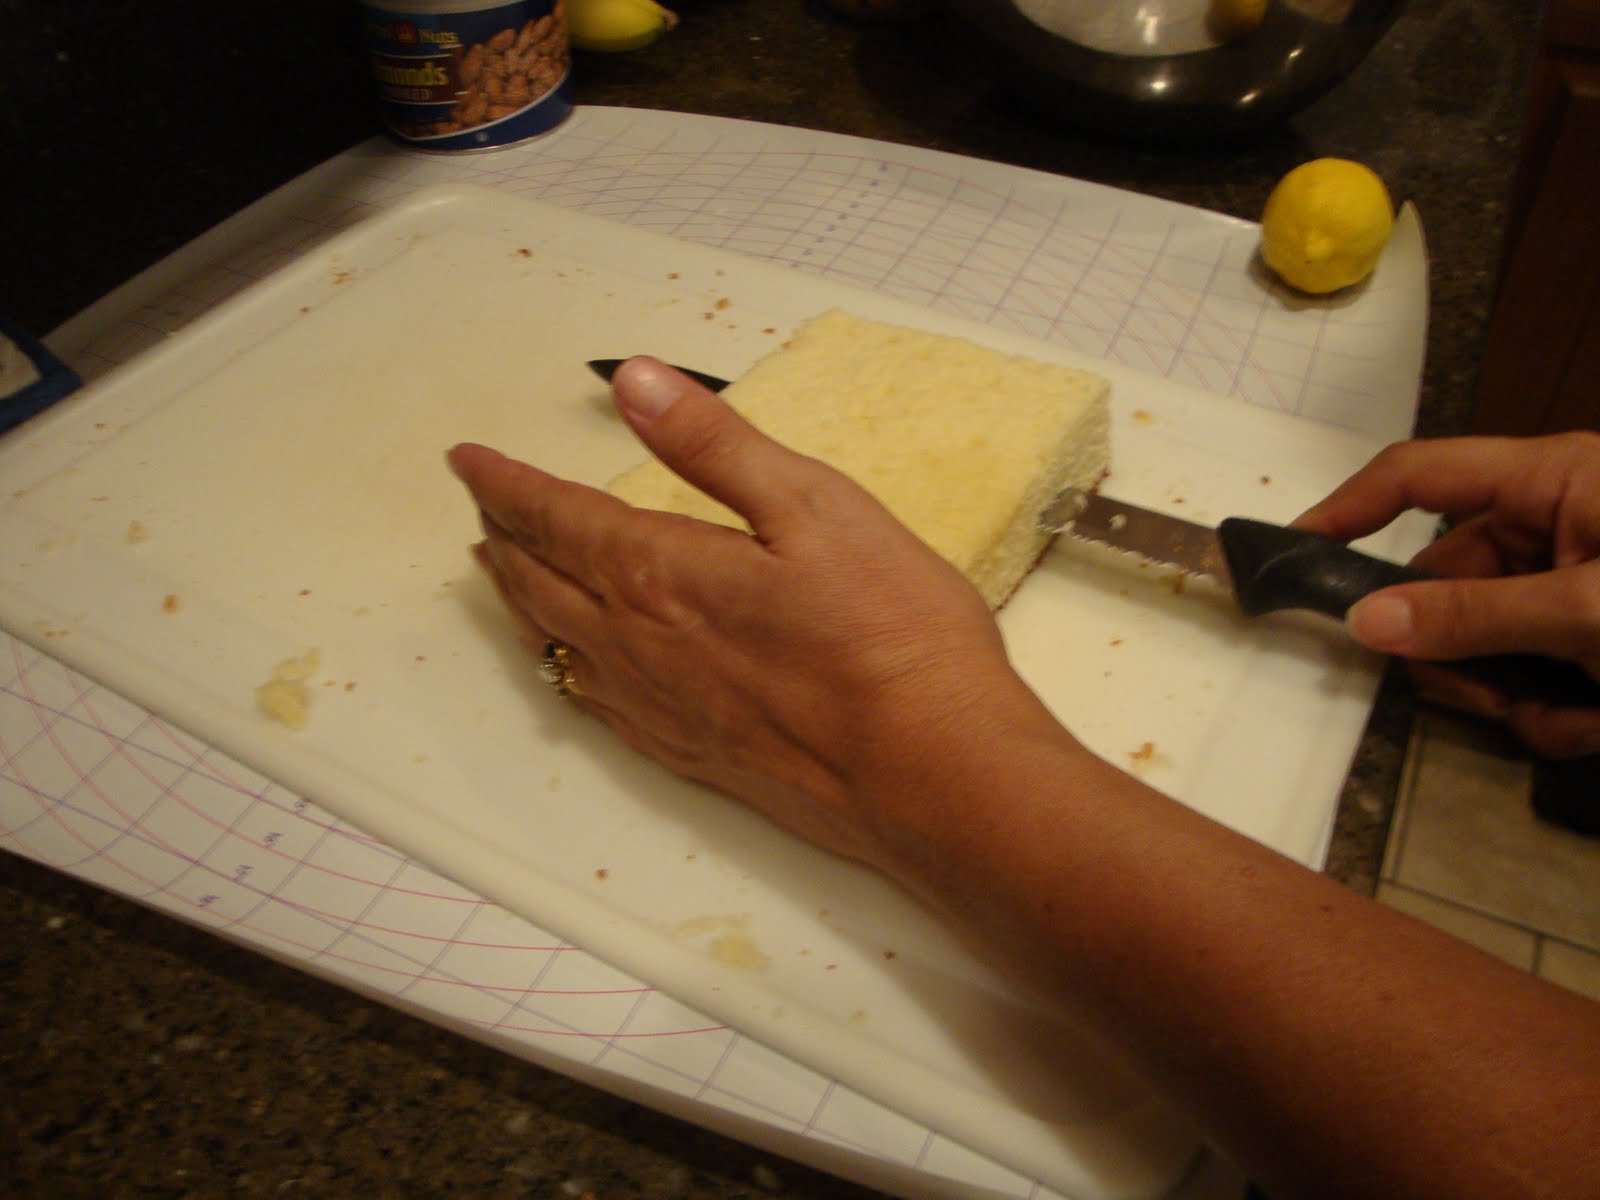
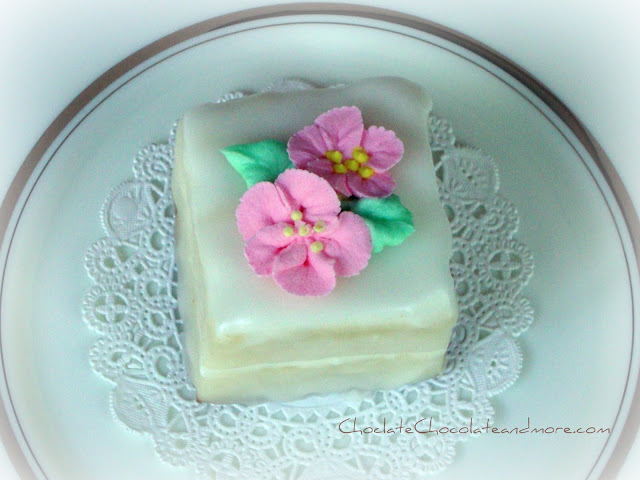
 Never be afraid to try new things in the kitchen, you’ll be surprised what you can do.

My petit fours are really the size of tea cakes.
I could only eat one.
I had 12 perfect cakes…
so after everyone in the house had one, I shared the rest with some friends.
Thanks Wondra!

Related Posts:

  • Truffle petit Fours-Anyone can make these!
    Truffle Petit Fours
  • Decorating Cookies with Royal Icing-it's easier than you think!
    Decorating Cookies with Royal Icing
  • Chocolate decorator Cookies
    Chocolate Decorator Cookies
grace

About Grace

When I was younger, I was constantly in the kitchen helping my mom bake. It was fun getting to play with the flour and always getting to lick the spoon. I’ve always expressed an interest in baking and now I feel that it’s the right time for me to take over. I am a college student working towards a nursing degree as well as a full-time aunt to the sweetest little kids (they might pop up in some of the posts). I’ve learned most of what I know about baking and cooking from my mom, and I am continuing to self-teach through trial and error, which means plenty of sweets to be eaten. Read more...

  • Facebook
  • Instagram
  • Pinterest
  • Twitter

You have Successfully Subscribed!

Reader Interactions

Leave a Reply Cancel reply

Your email address will not be published. Required fields are marked *

Comments

  1. afamilyoffoodies says

    August 28, 2011 at 7:00 pm

    They look beautiful!! 🙂

    Reply
  2. Debi says

    September 20, 2011 at 1:42 pm

    LOVELY!!!! Love the post tooooo! You made it look so easy and delightful! <3 and Hugs My Dear Friend!

    Reply
  3. Made with Love says

    May 10, 2012 at 12:04 pm

    they are wonderful!

    Reply
  4. Kalamity Kelli says

    October 18, 2012 at 2:47 am

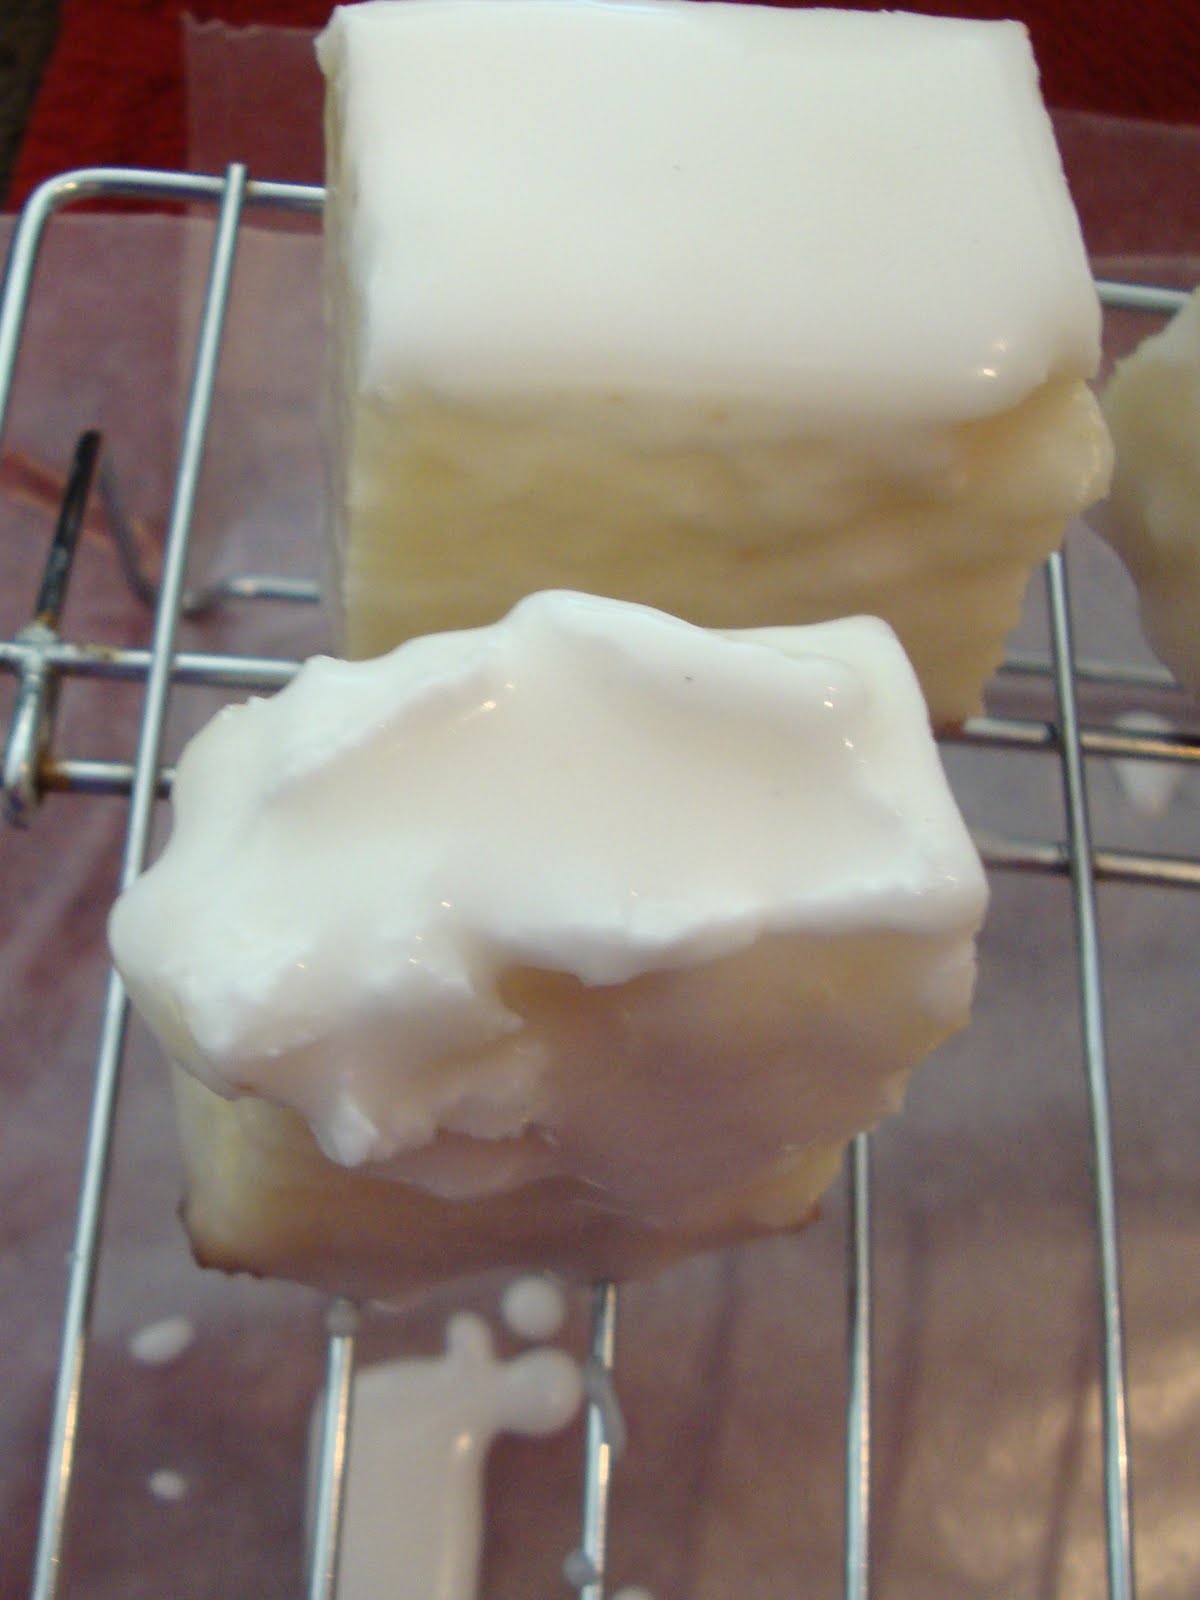
    I just discovered this post from your other chocolate covered everything post that loved – I can’t wait to do this. I have always wanted to learn how to make them but I thought it would be too hard – thanks for simplifying the process for me, especially how to cover the cakes with icing. but, I still don’t know what clear flavoring is……..

    Reply
    • Joan Hayes says

      October 18, 2012 at 3:33 am

      These were fun to make, I need to make them again soon. Clear flavoring is flavoring with no color. You can find it in bake stores or craft stores like Hobby Lobby and Michaels. Flavorings like vanilla extract from McCormick are a dark brown in color so they will tint your fondant.

  5. Bonny Lee says

    September 19, 2013 at 12:35 pm

    I was reading through you instructions for Petits Fours, and would suggest that you torte and fill larger sections of cake. That would make for a lot less wastage and you’d end up with more little cakes.

    Reply

Primary Sidebar

Welcome

We are a family that loves baking, good food, good times spent with family and friends, and exploring new places. Many of our most cherished family times have been cooking together in the kitchen at holidays or family gatherings.Read More

Chocolate Overload Loaded Brownies
Lunch Lady Brownies-gotta love that frosting!

SEEN ON

as seen on promo graphic

SEEN ON

as seen on promo graphic

Copyright © 2025 · Chocolate Chocolate and More · Privacy Policy

Chocolate Chocolate and More!Logo Header Menu
  • Home
  • About
    • Work with Us
    • For Bloggers
  • Recipes
  • Savory
    • Savory Breakfast
    • Snacks
    • Soups & Salads
    • Veggies
  • Sweet
    • Bars
    • Breads & Muffins
    • Breakfasts
    • Cakes
    • Candy
    • Cookies
    • Frozen Treats
    • Fruits
    • Facebook
    • Instagram
    • Pinterest
    • Twitter