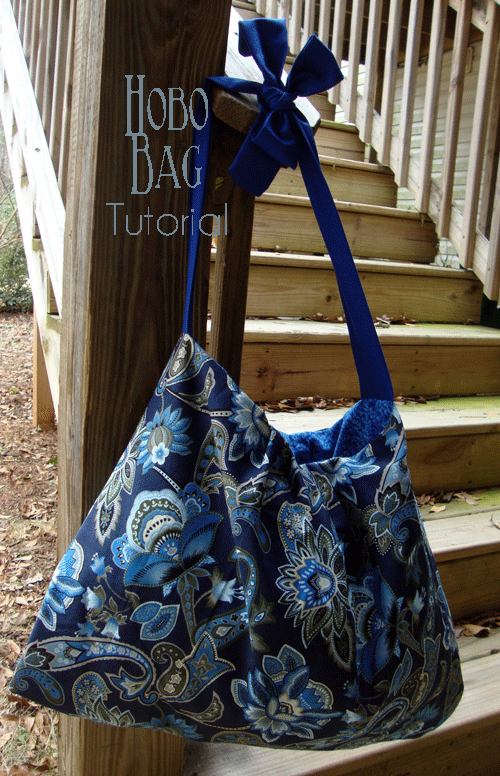
Hobo bags whip up in a jiffy so you can make a bag for every occasion.
I know this has nothing to do with food but this was just so much fun for my girls and me that I wanted to share it with everyone.
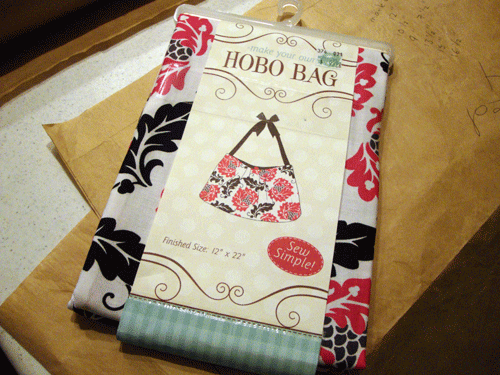
I found these cute kits over the summer at Hobby Lobby (50% off no less) and picked them up as Christmas presents for the girls.
I knew they would need something to keep them busy over the school break.
We made the first one in about 3 hours, cutting, figuring out the directions, and sewing.
The second one we made from start to finish in about 1 1/2 hours.
And when I made one without my girls around it took less than an hour.
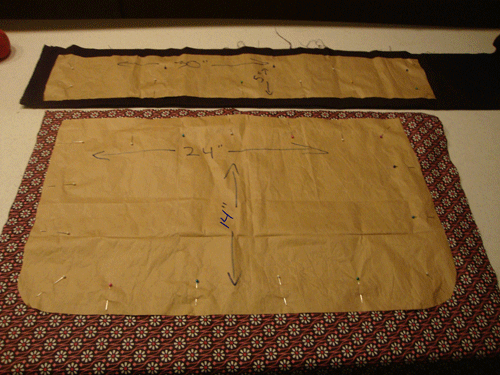
But before we put together the second one, we made a paper pattern so we could make more.
The great thing about this bag is nothing has to be perfect, but it looks professionally made.
And remember my girls are 9 and 12 and I only sew for crafting. I can’t even do a zig zag stitch (that would involve reading the owner’s manual.)
So if you have access to a sewing machine, this is a fun and easy bag to do.
Supplies
3/4 yard cotton or cotton blend fabric for outside
3/4 yard cotton or cotton blend fabric for lining
3/8 yard cotton or cotton blend fabric for straps
sewing machine
tape measure
washable marker
2 Paper grocery bags for making pattern
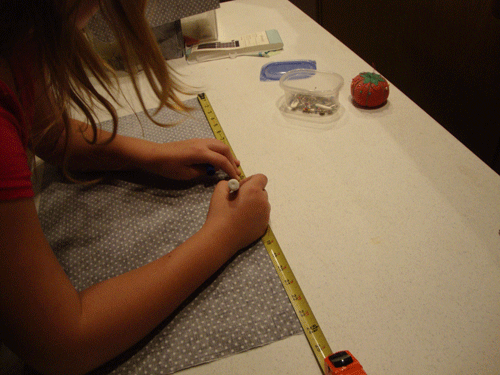
First lay a paper bag flat on table and measure strap pattern 30 ” by 5 ” rectangle.
Now for the bag pattern, you want it to be 24 inches wide (finished opening is about 17 “)
And a minimum depth of 14 inches. For a deeper bag make longer, we did a few 18 inches long and these are perfect for my daughter to use as a book bag at school.
Draw it as a rectangle then on the bottom 2 corners round them off. Keep the top 2 corners square.
You need 2 of everything, 2 straps, 2 outer fabric cuts and 2 lining cuts. Get everything cut out.
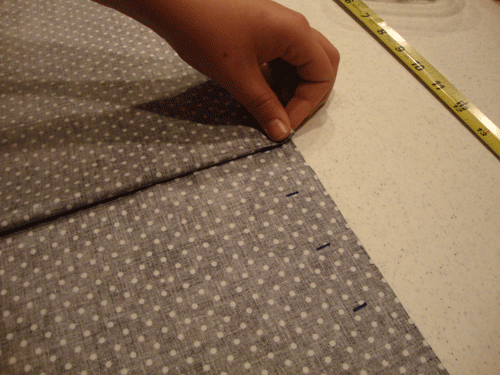
Now to mark your pleats on the outer pieces and the lining, you need to mark at center (12 inches)
then on each side of your center mark at 7 1/2, 9, 10 1/2 and 13 1/2, 15, 16 1/2 inches. Be sure to mark on wrong side of fabric.
You should have a center mark and 3 additional marks on each side.
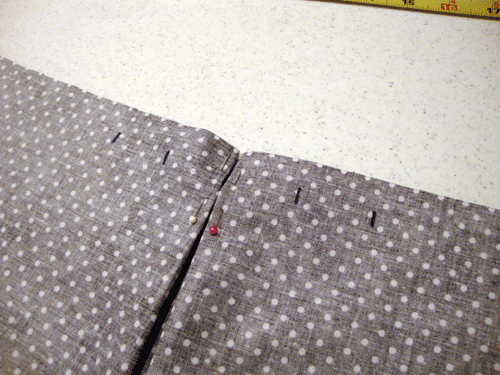
Fold you marks closest to center in to the center mark, forming a pleat
repeat on opposite side to complete your center pleats.
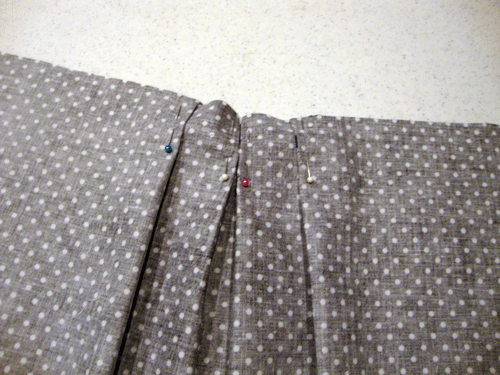
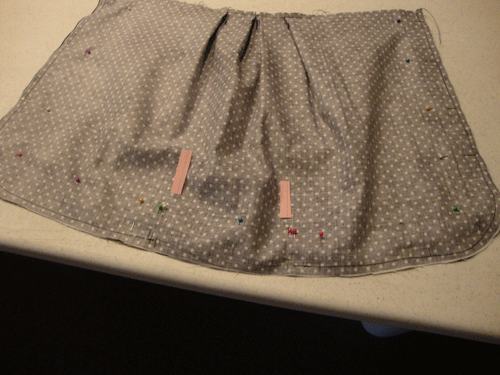
Center pleat done, now take your farthest mark and fold in to the the next mark in. Do this on each side of the center.
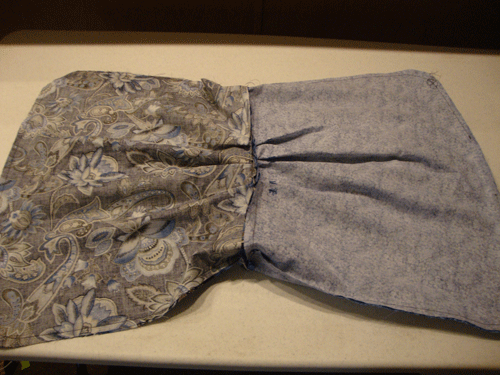
This is what it should look like, 2 pleats meeting in the center and then one more pleat on each side, pleated towards the center.
If I haven’t confused you, do this to the remaining 3 pieces (outer fabric and lining.)
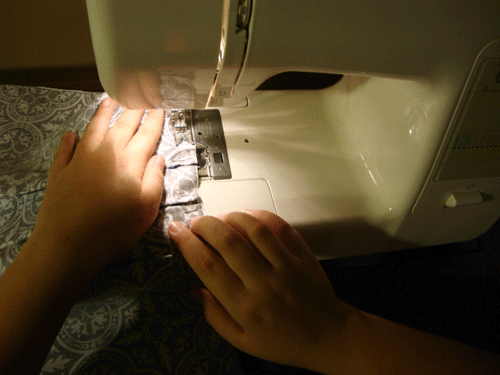
Go ahead and do a straight stitch across the top of each piece, securing your pleats.
We used the edge of the foot on the sewing machine as the guide, use any seam allowance you want.
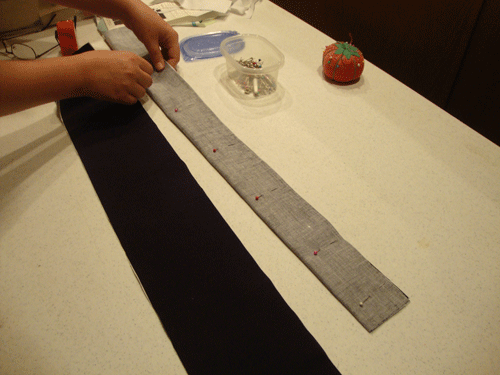
Now go ahead and pin your straps. Fold strap fabric in half lengthwise and pin one end and the full length of strap.
Sew it making sure to leave one end open (so you can turn it right side out.)
Turn straps right side out and iron flat. Set aside.
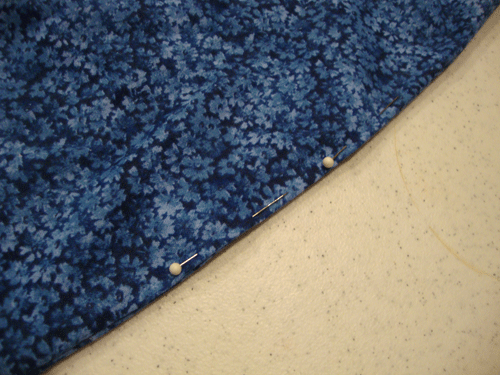
With right sides facing, pin outer pieces together, right sides facing each other. You want to pin around the entire bottom, leaving the top open.
Repeat for your lining pieces, EXCEPT, you want to make sure you leave a gap about 4-5 inches wide.
Go ahead and sew both pieces, making sure NOT TO SEW UP THE GAP on the lining.
You are almost done. You should have 2 straps-sewn, right side out and ironed.
Outer bag, sewn completely around the bottom edge.
And liner, sewn around bottom edge with a gap at the bottom.
Time to put it all together.
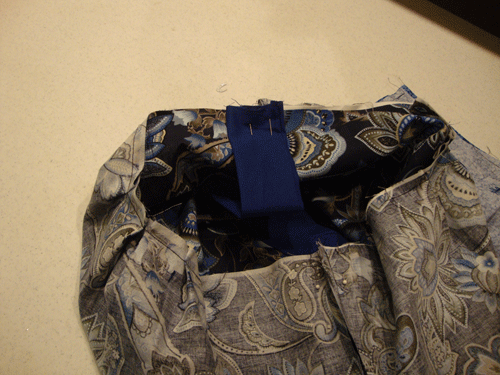
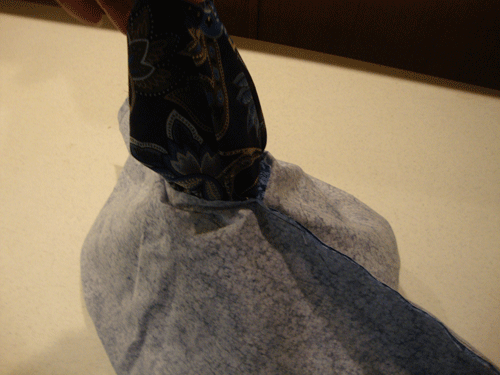
place your straps inside of your outer bag (which is still wrong side out.)
Line up unfinished end of straps with side seams of your bag.
Be sure to place pins on outside.
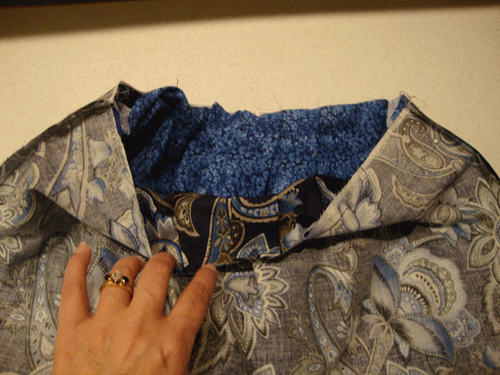
Now turn your liner right side out. and place liner inside the outer bag, matching side seams.
Secure with pins around the entire mouth of bag.
Sew the mouth of your bag, completely, starting and stopping at the same point. (be careful not to let your fabric bunch up or you might have to find your ripper and redo some stitches. Just saying. That might have happened to us on one of the bags…)
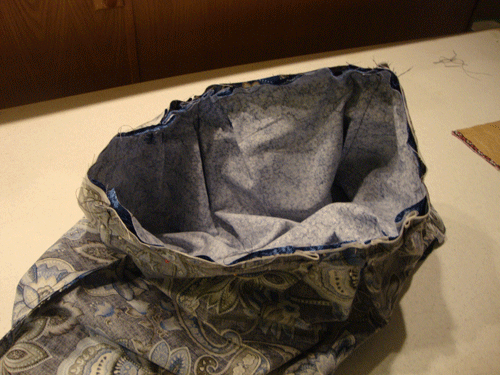
Everything is sewn. Make sure to remove ALL pins! Reaching into the gap in the liner, turn bag right side out.
All that’s left is sewing up the GAP!
Pin and sew as close to the edge as you can.
Push your lining inside your bag, be sure you’ve checked for any stray threads, tie a pretty bow with your straps and
YOU’RE DONE!
I have to tell you, I wish this was the first sewing project I had my girls learn to sew with. The pattern allows for fluctuation in the seamline, cutting, and any “mistakes” that might be made are hidden inside the bag.
Both my girls use the bags they made everyday, proudly carrying them off to school and bragging that, yes, they did make it all by themselves. And they did do it themselves. I only supervised, made sure things were laid out and pinned correctly. My 12 year old, made her 2nd bag without me even being in the room. My 9 year old did everything except for the back stitching.
I’ve linked up at Chic & Craft Party, Friday Flair, Serenity Saturday, Whatcha Got Weekend, Saturday Night Link Party, Tidy Mom, Tatertots & Jello, Every Creative Endeavor, What I Whipped Up Wednesday








Vera Guthrie says
I got a new Sewing Machine for Christmas and I don’t even sew. I think you have provided me with a project that I feel “safe” trying. Thank you so much!
Joan@chocolateandmore says
Vera, this is a great starter project. Just take your time and you will love the results!
Susan-The Weekly Sweet Experiment says
I am impressed! They did a great job! Better than I could do – I am sure 🙂
Tammy says
What a great job they did!! I wish I had been more of a sewer while my daughter was younger, so I could have shared it with her more. I’m totally impressed!!
Carrie - ASassyRedhead.com says
HOW TOTALLY CUTE ARE THESE!?! I love this!
Jennifer Juniper says
I’m sitting here cursing the fact that I have no Hobby Lobby! And 50% off also?!? Great project!